Every sourdough baker we know — ourselves very much included — keeps coming back to the same question: “How long should I let it ferment?” And the honest answer is always the same: it depends. But once you understand what it depends on, the whole thing becomes a lot less mysterious. For us, temperature is the single most useful thing to keep an eye on. It’s the variable that turns sourdough baking from a guessing game into something you can actually plan around.
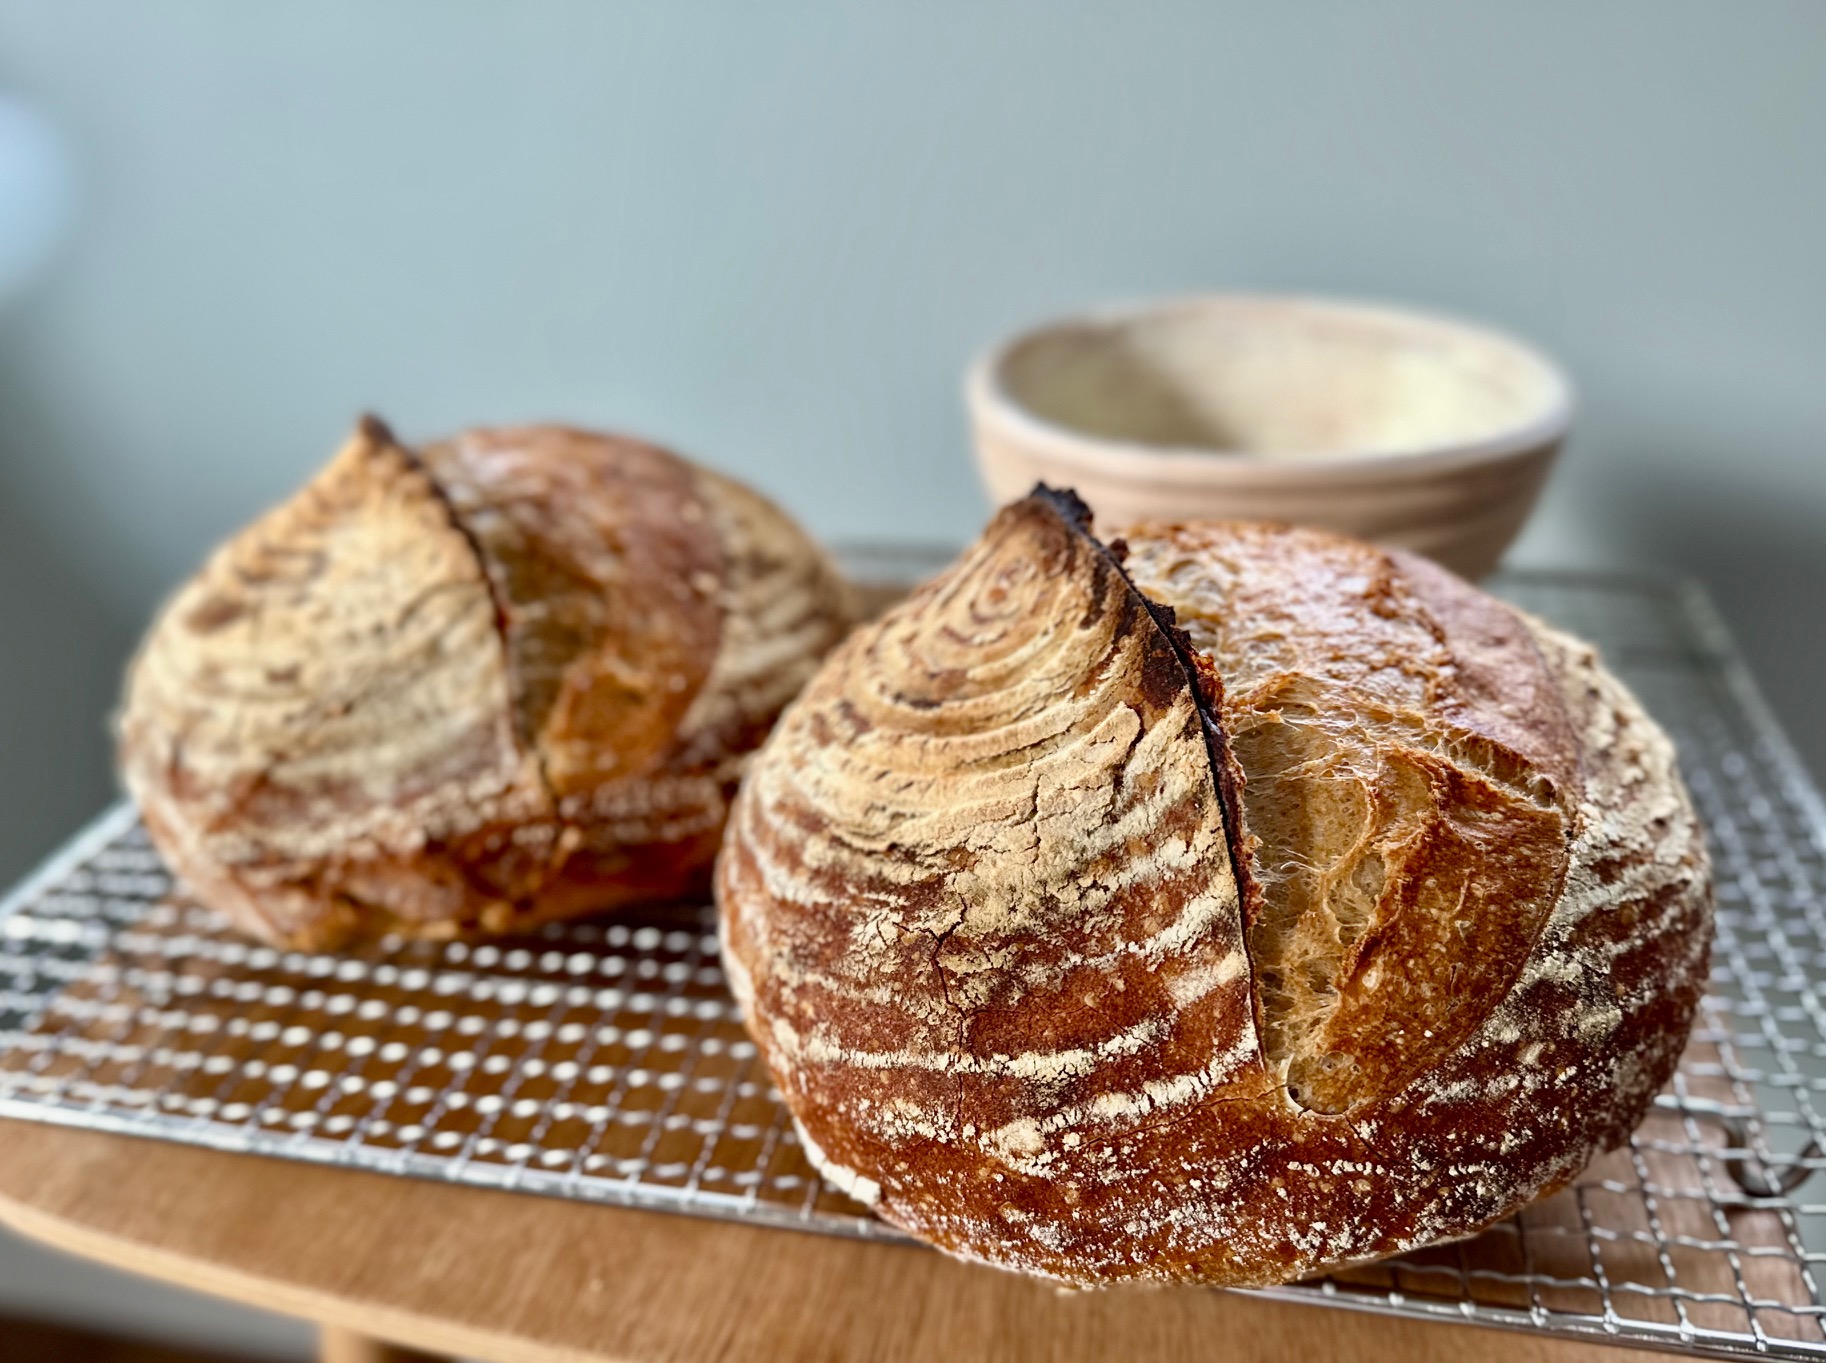
Bulk fermentation is really the heart of the bake. It’s the stretch between mixing your dough and shaping it — the time when the wild yeast and lactic acid bacteria do their thing: eating sugars, producing gas, building flavor, and developing the gluten that gives your loaf its character. Get this part right and you’re rewarded with an open crumb, a blistered crust, and that lovely complex tang. Get it wrong and, well, you’ll know.
Why Temperature Is Everything
Yeast and bacteria are living creatures, and like all living things, their pace of life is governed by temperature. As a rule of thumb we like to keep in mind: fermentation activity roughly doubles for every 5°C increase. So a dough sitting in a 30°C kitchen will ferment nearly twice as fast as one at 21°C. That’s a big difference, and it’s why a recipe that works perfectly for us in spring can suddenly feel out of step in the middle of summer.
There are two temperatures we always pay attention to: dough temperature (the internal temperature of your mixed dough) and ambient temperature (the room or proofing environment). The dough temperature is the one you set at the start by adjusting your water temperature. The ambient temperature is the ongoing force that either holds that temperature steady, warms it up, or cools it down over the course of the bulk.
Fermentation doesn’t follow a clock — it follows a thermometer. Once you start baking with that in mind, everything gets easier.
Desired Dough Temperature (DDT)
Professional bakers don’t leave dough temperature to chance, and we think home bakers shouldn’t either. They calculate a Desired Dough Temperature — usually somewhere between 24–27°C for most sourdough — and work backward to figure out what their water temperature should be. The classic formula takes into account the temperature of the flour, the room, the starter, and a friction factor from mixing.
For our home kitchen, we keep it simple: we measure the flour and room temperature, then adjust the water to land in the sweet spot. A final dough temperature of 26°C is what we aim for most of the time. It gives a nicely predictable bulk fermentation window of around 4 to 5 hours when the kitchen is at a similar temperature.
A digital instant-read thermometer is one of the best investments we ever made for our baking. Check the dough right after mixing — that single number will tell you more about how your bake is going to go than any recipe ever could.
The Time–Temperature Reference
The table below gives you our estimated bulk fermentation times based on room temperature. These assume a healthy, active starter at around 20% inoculation, a standard white or mostly-white dough at 70–78% hydration, and a final dough temperature that’s close to the ambient temperature. Of course your kitchen, your flour, and your starter all have their own personality — but this is a good place to start.
| Room Temp | Dough Temp | Bulk Time | Pace |
|---|---|---|---|
| 18°C | 18–20°C | 7 – 9 hrs | Very slow; lovely flavor development. More acetic (vinegary) tang. |
| 20°C | 20–22°C | 6 – 8 hrs | Slow and forgiving. Plenty of room for flavor complexity to develop. |
| 22°C | 22–24°C | 5 – 6.5 hrs | A moderate pace. Nice balance of flavor and rise. |
| 24°C | 24–26°C | 4 – 5 hrs | The “standard” window most recipes (including ours) assume. |
| 26°C | 26–27°C | 3.5 – 4.5 hrs | Active fermentation. More lactic (creamy, mild) tang. |
| 28°C | 27–28°C | 3 – 3.5 hrs | Fast. Keep a close eye on it. Risk of over-fermentation. |
| 30°C | 28–30°C | 2 – 3 hrs | Very fast. Narrow window. We’d save this one for when you’ve got some bakes under your belt. |
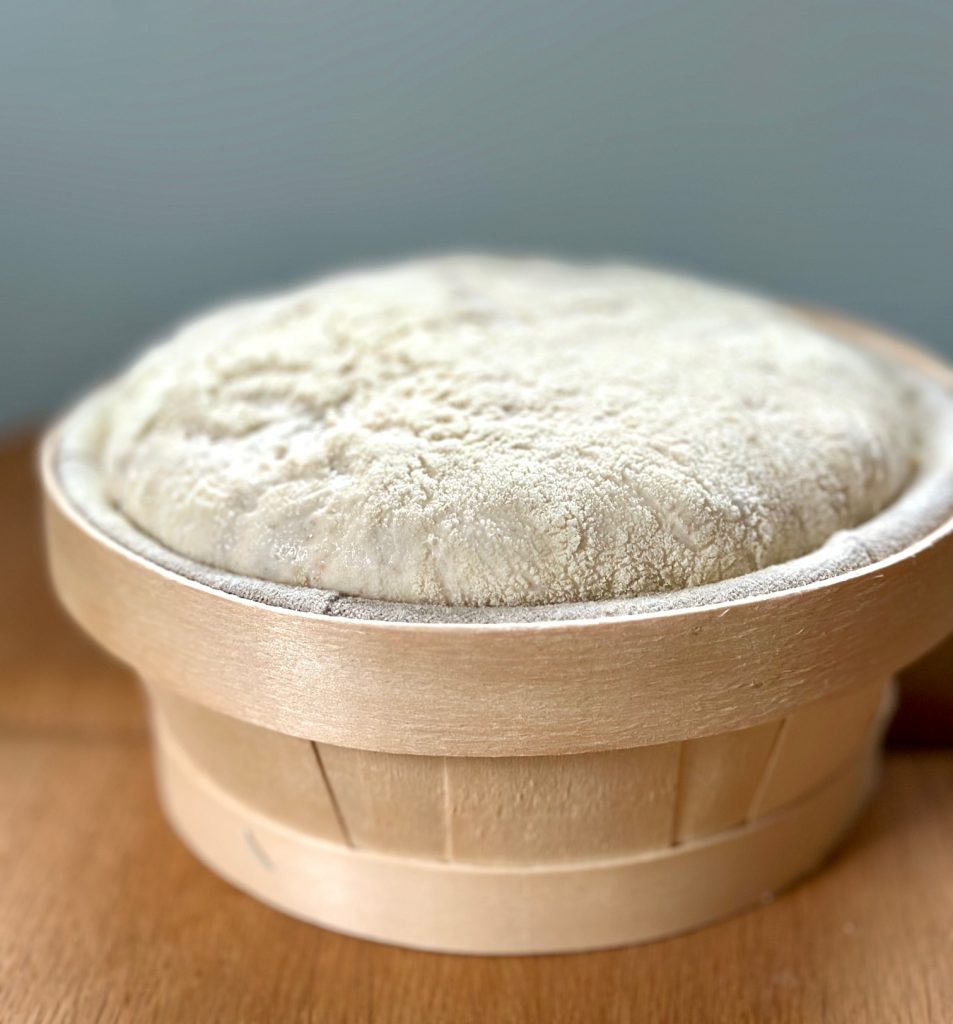
These are starting estimates, not gospel. Always judge by the dough itself — look for a 50–75% increase in volume, a domed top, visible bubbles on the surface and along the sides, and a jiggly, aerated feel when you gently shake the bowl. The dough will always tell you more than the clock will.
Estimate Your Timing
We’ve put together a little calculator to help you get a quick estimate for any stage of your bake. Pick the stage you’re planning — Bulk Fermentation, Room Proof, or Cold Retard — using the tabs at the top. Then drag the sliders to match your conditions: temperatures, starter percentage, or how far you took your bulk. The estimated time updates as you go.
Treat the result as a starting point, not a finish line. We always set a timer for the lower end of the range, then start checking the dough from there. Your kitchen, your starter, and your flour all bring their own quirks to the timing, and that’s part of the fun.
When Dough Temp ≠ Room Temp
Things get a bit more interesting when your dough temperature and room temperature don’t quite match up. This happens more often than you might think — maybe you used cold water to slow things down on a hot day, or your kitchen is on the cool side but you used warm water to give the ferment a kick-start.
Warm dough, cool room
If your dough starts at 27°C but your kitchen is 20°C, fermentation will get going quickly but gradually slow down as the dough cools toward room temperature. We find the bulk runs a little shorter than pure room-temperature estimates would suggest, especially in the first two hours when the dough is still warm. After that, the room takes over — so plan for something between the two estimates.
Cool dough, warm room
The opposite scenario: a dough mixed at 21°C sitting in a 27°C kitchen. Fermentation starts off sluggish but picks up steam as the dough warms. This one can really catch you off guard. Your first stretch-and-fold may feel like nothing’s happening, but by the third or fourth, suddenly the dough is taking off. Watch the dough, not the clock — that’s our motto here.
When dough temp and room temp disagree, the dough usually reaches equilibrium within 1.5 to 2 hours. After that, the room is calling the shots.
The Role of Starter Strength & Inoculation
Temperature isn’t the only lever you have. The amount and vigor of your starter shifts the timeline in a meaningful way too. A higher inoculation (say, 25–30% of flour weight) seeds the dough with more organisms and speeds up the bulk. A lower inoculation (8–12%) stretches it out, which we find can improve flavor complexity at the ‘expense’ of time — a trade we’re happy to make on a leisurely weekend.
Starter maturity matters as well. A young, just-peaked starter at its highest rise will drive faster fermentation than a starter that peaked hours ago and is starting to collapse. If your starter has been sitting at room temperature past its peak, expect a slower start and possibly a longer bulk.
Reading the Dough: Signs of Doneness
No chart or calculator can replace the skill of reading the dough — and honestly, we wouldn’t want it to. Here’s what we look for in a properly bulk-fermented dough:
25–50% rise
Still early days. The dough has some bubbles and is gaining strength but isn’t there yet. Keep going.
50–75% rise
This is the sweet spot for most of our bakes. The dough is domed on top, visibly aerated with bubbles on the surface and along the sides. It feels lighter and jigglier when you move the bowl.
75–100% rise
Approaching the edge. The dough may show a slightly flattened top. Works for some formulas, but you’re running out of runway for a cold retard and good oven spring.
100%+ rise
Likely over-fermented. The dough may feel slack, sticky, or loose. It might still make decent bread, but expect a denser crumb and less oven spring.
The Final Proof: Cold or Room Temperature?
Once bulk fermentation is done and your dough is shaped, there’s one more timing decision to make: the final proof. This is the second rise, where the shaped loaf rests until it’s ready for the oven. You’ve got two main paths to choose from — a cold retard in the fridge, or a shorter proof at room temperature. Each gives you different results, and we love them both for different reasons.
Cold Retard (Fridge Proof)
The cold retard is our favorite method, and we think the most popular among home bakers for good reason. After shaping, the loaf goes into the fridge for a long, slow rest. The cold dramatically slows the fermentation without stopping it, which gives you flexibility in your schedule, deeper flavor, and an easier scoring experience the next morning.
The benefits go well beyond convenience. Cold fermentation favors the production of organic acids, which deepens the sour flavor and gives a gorgeous crust color and blistering. The dough also firms up overnight, which makes it nicer to handle and score cleanly straight from the fridge.
| Fridge Temp | Proof Time | Result |
|---|---|---|
| 2–4°C | 12 – 16 hrs | Standard cold retard. Excellent flavor, easy to score. The most common approach, and our usual go-to. |
| 2–4°C | 8 – 12 hrs | Shorter retard. Good for slightly under-bulked doughs that need a bit more rise. |
| 2–4°C | 16 – 24 hrs | Extended retard. Maximum tang and crust development. Best for well-bulked doughs. |
| 5–7°C | 8 – 14 hrs | Warmer fridge — fermentation moves faster. Watch for over-proofing past 14 hours. |
Most home fridges run between 2°C and 5°C. The colder the fridge, the longer your loaf can safely retard. If yours runs on the warmer end, we’d lean toward the shorter end of each time range to be safe.
Room Temperature Final Proof
A room-temperature final proof is faster, gives a milder flavor, and works well when you want to bake the same day. The trade-off is precision — the window between perfectly proofed and over-proofed gets much narrower at warm temperatures, and the dough is softer and stickier when it goes into the oven.
| Room Temp | Proof Time | Notes |
|---|---|---|
| 20°C | 2.5 – 4 hrs | Slow, forgiving room proof. Plenty of margin for error. |
| 22°C | 2 – 3 hrs | A relaxed pace with reliable timing. |
| 24°C | 1.5 – 2.5 hrs | Standard same-day bake timing. |
| 26°C | 1 – 2 hrs | Fast. Check the dough every 15 minutes after the first hour. |
| 28°C+ | 45 min – 1.5 hrs | Very fast. The window between ready and over-proofed is small. |
The Poke Test
Whatever temperature you’re proofing at, the poke test is a good way to tell when your loaf is ready for the oven. Lightly flour your finger and gently press into the side of the dough about a centimeter deep, then release.
- Springs back immediately — under-proofed. Give it a bit more time.
- Springs back slowly, leaving a slight indent — perfectly proofed. Time to bake.
- Doesn’t spring back at all — over-proofed. Bake straight away and accept a denser result.
If you’ve cold-retarded your loaf, our advice is to bake it directly from the fridge. The cold dough holds its shape better, scores so much more cleanly, and gives you better oven spring than a loaf that’s been warming up on the counter. No need to bring it to room temperature first — straight from the fridge into the hot oven is how we do it.
Putting It All Together
The path to consistent sourdough is really quite simple, even if it takes a bit of practice to get there. Measure your dough temperature after mixing. Note your room temperature. Use the reference tables and the calculator as starting estimates, then verify with your eyes and hands. Decide early whether you’re aiming for a same-day bake or an overnight cold retard — that one choice shapes your whole schedule.
Over time, you’ll develop an intuition that no chart can replace — but the chart is where that intuition starts. Temperature isn’t just a variable in sourdough baking. For us, it’s the variable, governing both the bulk and the final proof. Once you’ve got a feel for it, the rest really does fall into place.
Times are estimates — always trust the dough
Dank voor de heldere uitleg over de tabel, waarbij voornamelijk bloem gebruikt wordt.
Hoe zien de tijden eruit als er minimaal 50% volkoren meel gebruikt wordt?
Fijn bak week end voor jullie!
Hallo Ellen,
Het gebruik van volkorenmeel heeft geen significante invloed op de rijstijden. Wat wel van belang is, is het aanpassen van het vochtgehalte bij deze hoeveelheden volkoren. Denk aan 5 tot 10% extra vocht. Ook het eindresultaat zal anders zijn bij meer volkoren, wat meer compact, minder glutenontwikkeling, minder elasticiteit, minder hoog, maar dat zal wel een bekend gegeven zijn.
Dank voor de duidelijke werkschema’s van de desembroden.
Een vraagje heb ik als het mag.
Is er een relatie tussen het % van de levain/desem/poolish die gebruikt wordt tot de hoeveelheid bloem/meel. M.a.w. hoeveel invloed heeft het % voordeeg op de totale bulkijstijd? In het schema kan ik niet zien op welk % voordeeg dit is gebaseerd.
Hartelijk dank alvast voor de reactie.
De tijd-temperatuurtabel gaat uit van ongeveer 20% inoculatie met een gezonde, actieve starter, dit staat in de tekst net boven de tabel.
De tabel gaat uit van ongeveer 20% inoculatie met een gezonde, actieve starter.
Het percentage voordeeg heeft duidelijke invloed op de bulktijd:
Bijvoorbeeld;
25–30% — snellere bulk, haal grofweg een kwart tot een derde van de tabeltijden af.
20% — de basis waar deze tabel op rust.
8–12% — langzamere bulk, reken op 30 tot 50% langer, maar meer smaakontwikkeling.
Vuistregel: een verdubbeling van het inoculatiepercentage verkort de bulk ruwweg met een derde tot de helft, en andersom net zo. Geen exacte wiskunde, want starterkracht, hydratatie en temperatuur hebben allemaal invloed.
Happy baking!