Yes, you need that many raisins, so stick to the recipe!
I have been making raisin buns for quite a while now, and I think I have tweaked and tried the recipe to my satisfaction. Raisin buns are called ‘krentenbollen’ in Dutch, although they are usually made with a combination of raisins and currants (‘krenten’ means currants (for a lecture on the difference between currants and raisins, see end of this post).
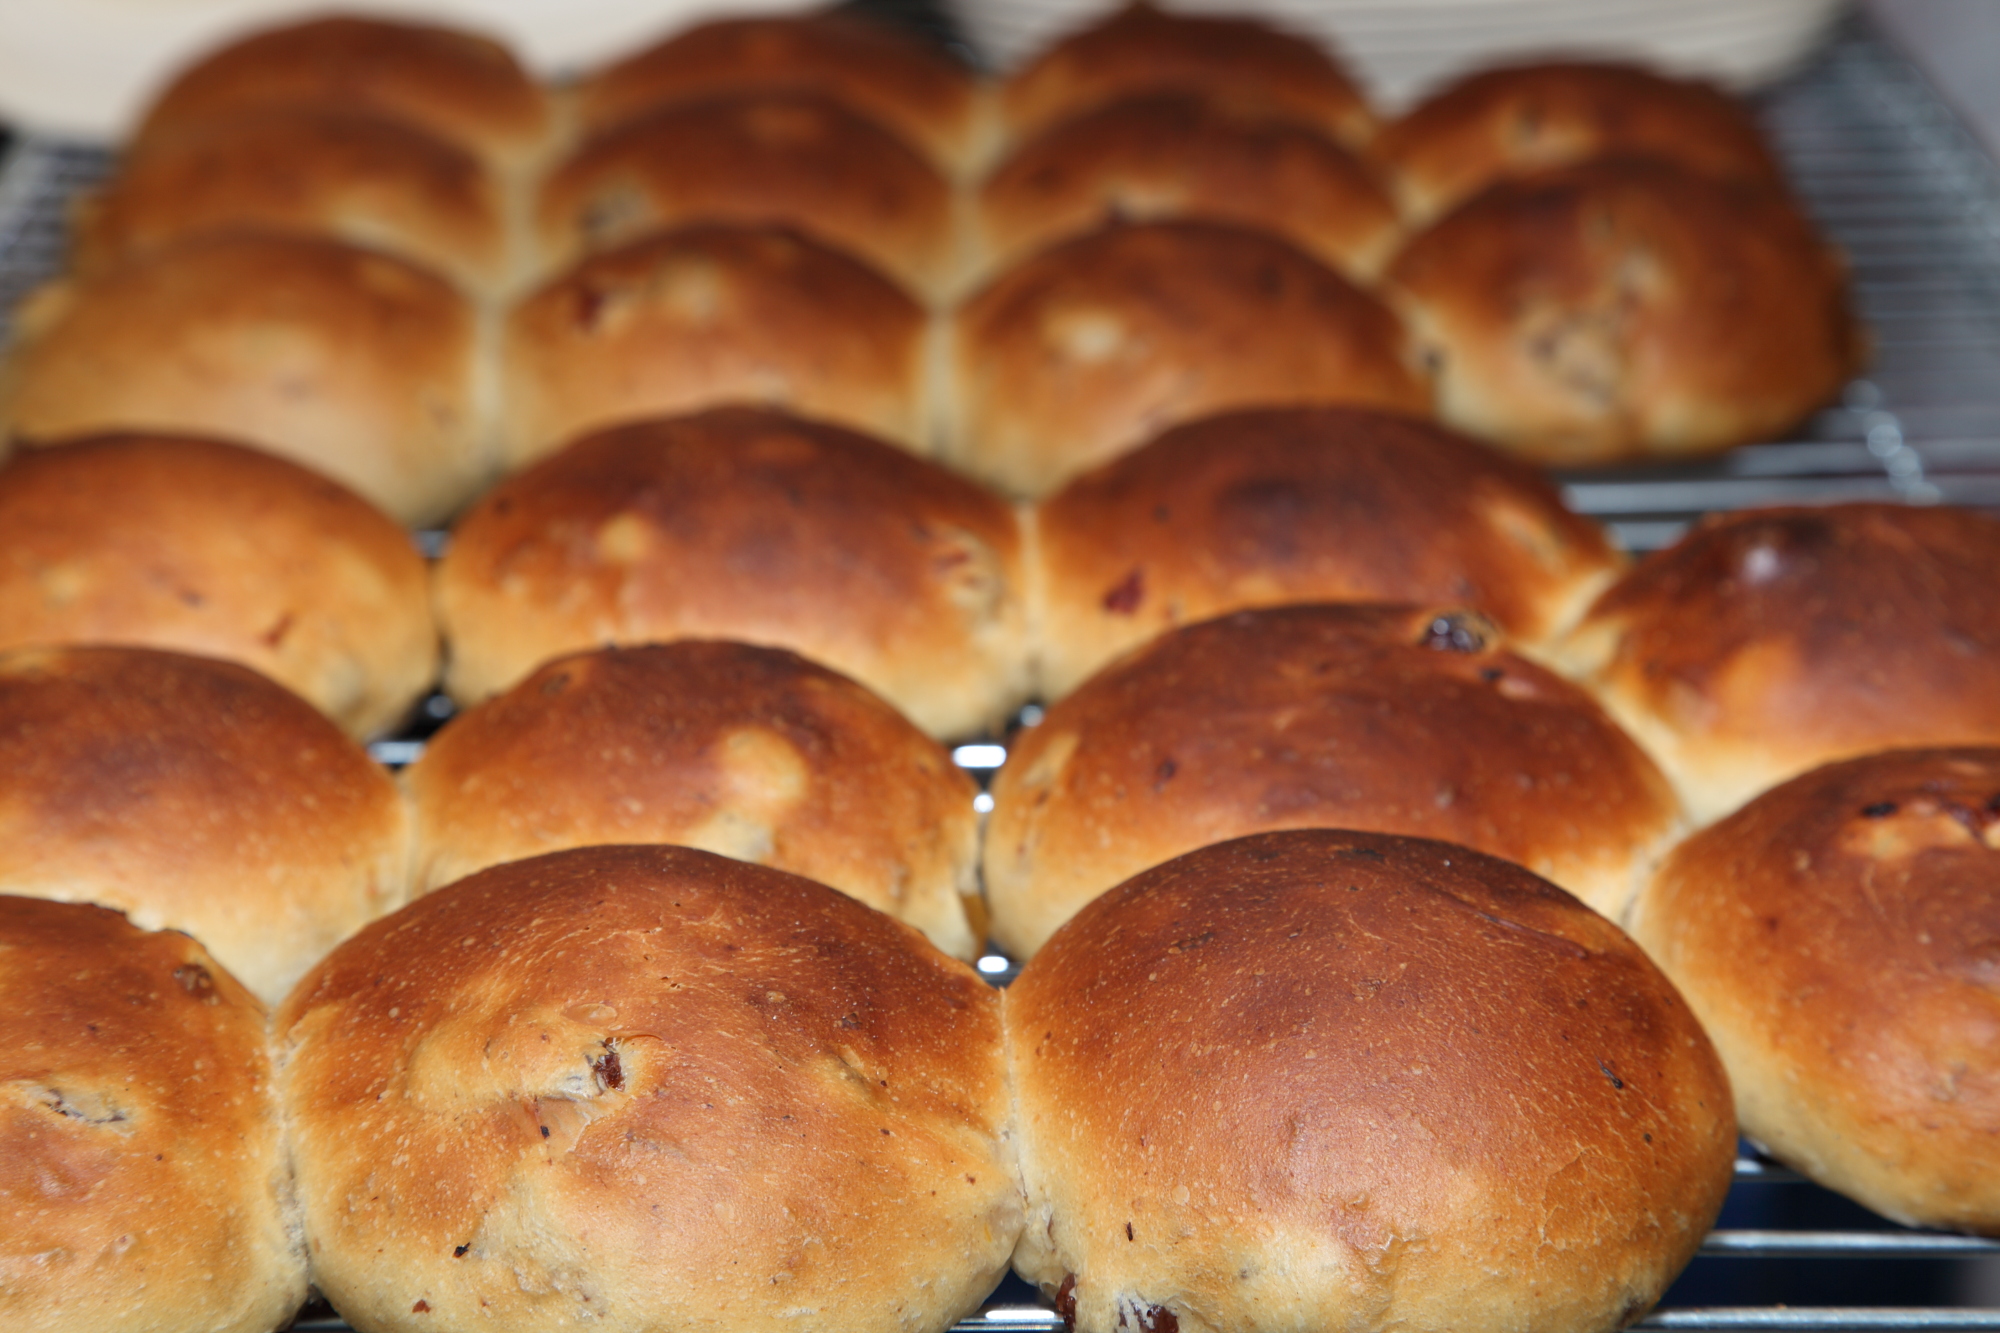
I usually make double the amount of this recipe. The buns keep wonderfully well in the freezer and you can give them a quick ‘pick me up’ in the microwave, have some fresh butter at hand (also good without though) and away you go. But nothing can beat eating them slightly warm, fresh from the oven of course. The following recipe is a slightly ‘tuned down’ version of the one I use myself, because I work with prefermented dough and different types of flour. But if you want to try raisin buns for the first time, this recipe is a great point to start.
Before you start!

You need to prepare a so called ‘sweetener’ which gives the raisin bun dough its distinctive and pleasant taste. For this you mix 40 grams of sugar with the zest of 1 unwaxed lemon and one unwaxed orange. You can store this mixture in your fridge, it will keep for a long time.
You also have to wash and soak your raisins. First wash them and then leave them for 10 minutes in warm water. Rinse with cold water and leave to dry on a plate for one to two days (cover them against dust). If you do not want to wait, or you forgot, just drain them well and roll them lightly in flour before using. The amount of raisins used is usually the same as the amount of flour used. It seems like a lot, but you need this amount to get a really good raisin bun, so you do not ‘have to cycle from one raisin to the next’ as we say. As you make them more often, you will come to your own preferred amount.
Note: if you use American bread flour you probably need 3 to 5 % more milk than we use with our European flour.

Ingredients for the Raisin Buns
makes 12 raisin buns
400 g bread flour / all purpose flour / French type 55 flour
40 g fresh yeast or 14 grams instant yeast
8 g salt
50 g fresh dairy butter
1 egg yolk
220 g milk
10 g sweetener (sugar and lemon/orange zest mix, see ‘before you start’))
400 g raisins, washed and soaked (you can also use a mixture of raisins and currants)
Making the Raisin Buns
Make the dough with all the ingredients (except the raisins) and with 170 g of the milk. Then gradually add the rest of the milk and knead the dough until well developed. If you are using fresh yeast, first dissolve it in some of the milk, before adding it to the other ingredients. With a KitchenAid type mixer, mix for about 8 to 10 minutes, by hand it will take about 15 minutes of good kneading. Make sure the dough is not too sticky or too dry. Aim for a bit tacky, which means that when you poke the dough with your dry finger it should stick for a second but then peel of as you remove your finger. Leave to rest for 5 minutes.
Then add the raisins and ‘pinch’ them through the dough very carefully by hand, so they are evenly distributed. If you are lucky enough to own a spiral mixer, you can use that instead and it will only take one minute to add the raisins by mixing for one minute on low speed. If not, just do the work by hand.
Shape the dough into a ball, transfer to a greased bowl, cover and leave to rest for 15 minutes.
Now press the dough down with both hands into a flat disc, roll it up tightly, cover it and again leave to rest for 15 minutes.
Divide the dough into 12 equal parts and make rolls. Leave to rest for about 10 minutes. Now press the rolls with your hand until slightly flat and round the dough again into a smooth ball.
Place the rolls on a baking tray covered with a baking sheet (we use our reusable thin fiber baking mats).
Now the rolls are ready for their final proofing. Loosely cover them with plastic wrap. Depending on your room temperature and the temperature of the dough this should take at least 1 hour, but more likely 1.5 hours or even more, depending on the temperature of the dough. Just be patient and check regularly. When you think it has risen enough, use your finger to carefully make a very small dent in the dough. If the dent remains, the bread is ready to bake, if the indentation disappears, the dough needs a little bit more time (10 to 15 minutes).
During the proofing process preheat your oven to 200 ºC /390 ºF conventional setting. At what point you do this depends on the oven you use. Most ovens need between 10 and 30 minutes.
When ready place the buns in the oven and bake for 15 to 20 minutes, depending on your oven. They should have a nice golden brown shine.
If, during the baking process, you think the top color is dark enough, you can temper the oven to 160 ºC /320 ºF. The buns will still bake, but will (almost) not brown anymore.
You can brush the tops with some melted butter while the buns are still warm, this way they also stay softer and get extra taste. Leave to cool on a wire rack. Eat with fresh butter!

Note: The difference between raisins and currants
Dark raisins: These are the most common variety found in most markets, usually made from Thompson seedless grapes. Although they start as green grapes, the fruit naturally darkens as it dries.
• White or golden raisins: These are also called muscats and are generally made of white muscat grapes which are seeded, specially oven-dried (rather than by sun), and treated to retain their light color. Some golden raisins are dried Thompson seedless raisins which have been kept light by the use of sulfur dioxide.
• Sultanas: More popular in Europe, these raisins come from a seedless yellow grape and are usually softer and sweeter than other varieties. The American variety of sultana grape is the Thompson seedless.
• Currants: Although there is a gooseberry relative known as the currant, the dried currant raisin is actually made from Black Corinth grape called Zante. They are tiny, seedless, and very sweet but do bear a resemblance to the currant berry. The name confusion comes not only from the currant raisin’s similar appearance to the currant berry, but also due to the similarity of the sounds of the fruit names, ie., currant sounds like Corinth, the variety of grape. Tiny dried currants are extremely sweet and aromatic. (source Wikipedia)
These are my father’s favorite Dutch buns. I would like to use fresh sourdough starter for the yeast. Is that what you mean by fresh yeast or the packaged yeast?
Hello Joysha,
That is so nice to read. Great you want to make them for your father. Fresh yeast is not the same as sourdough. Fresh yeast is still a form of commercial yeast that is wetter and has a short ‘shelf life’ but is quicker than the dried instant version. It is used in a ratio of about 3:1 compared with the dried version.
If you want to turn this recipe into a sourdough version you need to change a few things and the outcome will also be different in taste and texture.
We have never made a sourdough version of these buns, so we do not have a ready made recipe for you. If we would make them, we would start by using about 150 grams active starter for this recipe, instead of the yeast. The proofing times will also be much longer of course.
I have found a recipe of somebody who has made a sourdough version, but is in Dutch. Maybe you could translate it and use it too as a reference.
lekkerfermenteren.nl/krent...zuurdesem/
I hope you will figure out a good version that will be liked by your father.
Best of luck and enjoy the baking.
Greetings from Holland / Groetjes uit Nederland
Hi! Dank voor het recept!
Is het mogelijk om het deeg en of een deel van het proces een dag vantevoren te maken en in de koelkast te bewaren? Zeg maar net als zuurdesem? Dan kan het sochtend voor of na mijn zuurdesem bakken, zou wel makkelijk zijn:)
Hallo Gratia,
Ja dat kan zeker, maar wij zouden aanraden de hoeveelheid gist te halveren, (het rijsproces gaat in de koelkast toch nog even door, vooral bij commerciële gist, meer nog dan bij desem)en je wilt natuurlijk het deeg niet laten over-rijzen. Het is een beetje zoeken naar de juiste hoeveelheid gist en de tijden in de koelkast en eventuele tijd nog buiten de koelkast, om alles perfect op elkaar aan te laten sluiten, maar het is ook wel leuk om dat uit te zoeken. Zo kun je inderdaad lekker achter elkaar door bakken in de toch al hete oven.
Succes en veel plezier ermee!
Thank you for the recipe. I shall use the bread flour next time, instead of all purpose flour. Thank you.
I made them once, they turned out ‘Good’ but heavy. Not fluffy or ‘soft’. I will try to make it again according to your recipe. Would crème of tartar help to keep it dooft and fluffy? The reason why I asked is because, it kept the homemade play dough soft for a long time? 🤷♀️ just asking. Thank you for sharing.
Hello Martha,
It is important to proof these buns to the ‘limit’ and under the right conditions. So make sure the temperature of your dough and the surroundings is at least 24 Celsius and check during the latter stages if the dough needs more proofing time. We would not recommend using another raising agent with the yeast. We can recommend using a bit of vitamine C to help with the fluffiness. Due to the properties of vitamin C, it can be used as a dough (gluten) strengthener during fermentation, helping to improve the structure of the dough.
Add a pinch (around 0.3 grams) of ground vitamine C to the dough.
Also see our sandwich loaf recipe for more info:
www.weekendbakery.com/posts...wich-loaf/
Good luck with the buns and enjoy the baking 🙂
Excellent! Great recipe. Taste even better than I remember! 💜🧡
Thanks so much for this recipe! It took me 3 tries to tuck that many raisins in, and I’m still losing a few… but I’m not modifying the recipe! 🙂
Could you send me the recipe in English?
Can you translate into American measurements
Google can help you. Or, you can purchase measuring devices that have imperial and/or metric measurements.
Good afternoon or evening for you,
My husband is from The Hague and misses krentebollen. I searched the internet and found your recipe and descriptions appealing so I gave it a try. They turned out amazing. My husband said the taste was very close to what he remembers. He has lived in the U.S. for 30 years, but has traveled back to the Netherlands a lot, but of course, not now. Hartelijk bedankt! Royce and Edwin Houthuijzen
Hello Royce,
How wonderful we could play a small part in reliving these lovely krentenbollen memories with our recipe. Thank you for sharing it with us and we hope there will be many more happy baking moments and buns of course for you to share with your husband and family.
Greetings from Holland / Groetjes
Ed & Marieke
Can you give me help on high altitude adjustments. I’ve made these and they are dense, not soft and fluffy like they should be. I’ve searched for high altitude recipes and I cannot find any.
Thank you
Hello Liesje,
We can recommend this site as the go to place for high altitude baking:
www.wheatmontana.com/conte...-mountains
Most important are increased liquid and decreased yeast and baking time. We hope you will be able to improve your baking with this.
We cannot help you with our experience living in a country with a big part below sea level and no real mountains.
Greetings / Groetjes from the low countries,
Ed & Marieke
I am lactose intolerant. Can I substitute oat milk or some thing else? Thanks so much.
Hello Monica,
Yes, that is excellent, it should work really well with oat milk too. If you do not like the result you can also use water or almond milk would be good to try too maybe.
Another suggestion we have is to make buns with this recipe:
www.weekendbakery.com/posts...-favorite/
It works really well for buns, it has no milk, butter or refined sugar (only date syrup) and if you want you can also substitute the egg or leave it out and use some more water.
Hope you will enjoy baking the buns and make them your own with a few little tweaks.
Hi Weekend Bakers,
What is the reason that only egg yolk is used rather than the whole egg? I have yet to try this recipe but will use it to for Easter buns! Great website and great sourdough recipes.
Thanks Tony
Hi Tony,
Egg yolk is added for the texture of the crumb and also a bit of color. The yolk also contains lecithin which can also act as a preservative. It is no problem for the recipe if you want to use the whole egg. Just be aware egg white is 90% water so you need to use less milk if you add the whole egg. Whatever you do, aim for the dough to be slightly sticky, and not too dry, this will help with shaping and will also give a better end result.
You can also use this recipe as a base for your Easter buns:
www.weekendbakery.com/posts...en-bollen/
Hope it will be great. Enjoy with the family!
Ed& Marieke
I do like the added color from the egg yolk, but the yolk’s lecithin is primarily an emulsifier, i.e., it “smooths out” the fat molecules from the butter and allows them to interact with the water-based component such as milk. I do not think it’s a preservative.
Thank you for this recipe – the instructions were very detailed. We used to be able to buy krentenbollen at the supermarket in Australia, however we can’t find them any more, so I was looking for a good recipe. I have tried several and this has turned out to the best one by far. We enjoy them with butter, marmalade and cheese, much to my workmate’s disgust until they actually tried them that way! I’m going to try some of your other recipes as well. I found that it only took about 45 minutes for them to rise properly – maybe it’s warmer here!
Thanks again!
So wonderful to read your comment Sandra. Yes, the convincing is in the tasting, very funny. The combination with cheese is so good, the salt and the sweet. And yes, the temperature plays a key roll in the amount of proofing time. We are quite certain that at the moment it will be very much warmer on your side of the globe.
If you want to try a slightly more festive version you can take a look at this recipe: www.weekendbakery.com/posts...en-bollen/
And for nostalgic reasons maybe, you could try a Dutch apple pie:
www.weekendbakery.com/posts...apple-pie/
And we can really recommend our latest recipe ‘ ouwe jongens krentenbrood’ which is such a success with everyone:
www.weekendbakery.com/posts...-favorite/
Hope you can give it a try!
Wishing you all the best and enjoy your baking and sharing,
Marieke & Ed
Weekend Bakers
Hi, I love to eat raisins buns but don’t seem to be able to get the right texture as in bakery. While making the dough I mix in the raisins. During the first round of proofing the dough did rise quite well but didn’t rise after shaping. What could be the problem?
Hello Maureen,
You should add the raisins after a good kneading process and make sure the dough gets well developed. We do not understand the proofing time before shaping part, because there is only a short resting period and the real proof only starts after shaping with this recipe. We would suggest looking at your yeast first and make sure it is still ‘fresh’ and not close to or past the sell buy date for example.
Hi! These look lovely. I found your page because I was actually looking for a sourdough currant bun recipe. Would you be able to share what amount of sourdough starter you use, instead of yeast? I’d love to try them!
Hello Leah,
Thank you for your comment. This is not a sourdough recipe, so we cannot give you the exact details for a conversion, because we would have to make all kinds of adjustments and we cannot give you this based on our own experience. It will be totally different in taste and structure if you do make a sourdough raisin bun. What we would do is make a raisin version with this recipe:
www.weekendbakery.com/posts...ugh-rolls/
We would not use the whole wheat but substitute it for bread flour and add the other ingredients, maybe adjust the liquid and this would be our starting point. Maybe you can find some inspiration in it.
Happy baking this festive season!
Could I make the dough in my bread machine on the dough cycle?
Hi Margaret,
I think yes (but practically no experience with a bread machine over here!). I think the challenging part will be the incorporation of all the raisins. Knowing the very small hook in a bread baking machine I think this will not go that well and you will have to do it by hand to get them well distributed.
Hope it will be good!
Can you please post this recipe on your Pinterest?
Thx Beverly
Hi Beverly,
Not sure if you mean the whole recipe?
nl.pinterest.com/weeke...d-recipes/
Could you please put the measurements for ingredients in American measurements. Thank yiu
Hello Jo,
You can find our baking conversion page here: www.weekendbakery.com/cooki...nversions/
NB: Our honest opinion on cups and scales
We very much recommend weighing all your ingredients, including water. Professional bakers use scales (also in the US) and in Europe home bakers do too. A scale will give you the exact same weight every time. Which is absolutely needed if you consistently want to make good bread and good pastry. You can get a scale for the same price as a few sacks of good flour and less than a lot of baking tools you already own, so if possible, go and get one! It will change your baking life.
Have not tried the recipe yet but it sure looks good.
U tried it and it worked out perfectly. Thanks to the weekend bakery..
Hello Marvine,
Thanks so much for dropping us a line and letting us know you likes the recipe!
Enjoy your baking
Ed & Marieke
Thank you for this recipe! I tried this recipe today and it’s so delish!!! Baked in the morning and finished by the end of the day! I could taste a hint of citrus from the sweetener and as Jackie suggested, I soaked the raisins in tea for 1 hour and drained overnight. My first try on this recipe, I dried the raisins for 2 days but somehow messed up and my raisins started to grow some mould…But all is good when I whipped up a new batch and just drained overnight. I think my raisins are a different size from this recipe though…they were huge and were bulging out of my buns :”) But I did like how I will get a couple of juice raisins in every bite. Maybe I will try to reduce to 350g instead of 400g. I divided mine into ~100g buns. These buns are a real treat! I’m craving for another batch of raisins buns hehe
Hi Dini,
Thank you again for showing your baking results in the your loaves section:
www.weekendbakery.com/your-loafs/
So great to read your enthusiastic account of the whole process. You did good trowing away raisins with any sign of mold…better save than sorry!
The raisins are indeed huge, much bigger than ours. We think it might be a variety called ‘blue thompson’ which are extra large and very juicy and sweet. A great combination in this recipe, but you are in this case right to try a version with just a bit less of these raisins (there will still be enough raisin in every bite!).
Enjoy the bun baking and sharing and for extra festive occasions we can recommend these buns too:
www.weekendbakery.com/posts...en-bollen/
Greetings,
Ed & Marieke
Weekend Bakers
Great recipe. I talked to a baker in Holland and he suggested soaking the raisins and currants in good old tea for half a day.
Than drain and let the raisins dry.
Wow what a difference. It totally adds to the krentebol flavour.
Just a happy suggestion
Hello Jackie,
Thank you for that wonderful suggestion. We have heard and seen this with recipes in the UK, but never in Holland funnily enough. We love tea and we love krentenbollen so we are definitely going where you lead us!
Enjoy the baking,
Ed & Marieke
Thank you for this delicious recipe! These are the best raisin buns ( krentenbollen) ever!
On my second attempt I used the whole 40 gr sweetener by accident and it was so delicious that I now indulge in it every time I make these buns.
I make the size of my buns between 80 and 90 grams and bake them for no longer than 13 minutes after I read an article about under baking to achieve really moist bread ( white only). Works great and the buns stay longer fresh than the batch lasts in my house.
I preheat my oven to 40 C for a few minutes, then turn it off and put the baking tray with the buns in to let them raise. I close the oven and after 1 hour they are ready for baking.
Thank you Jutta for your enthusiastic comment and for sharing your experience. You truly made the recipe your own.
Have a wonderful Christmas and a happy 2019 with lots of baking fun!