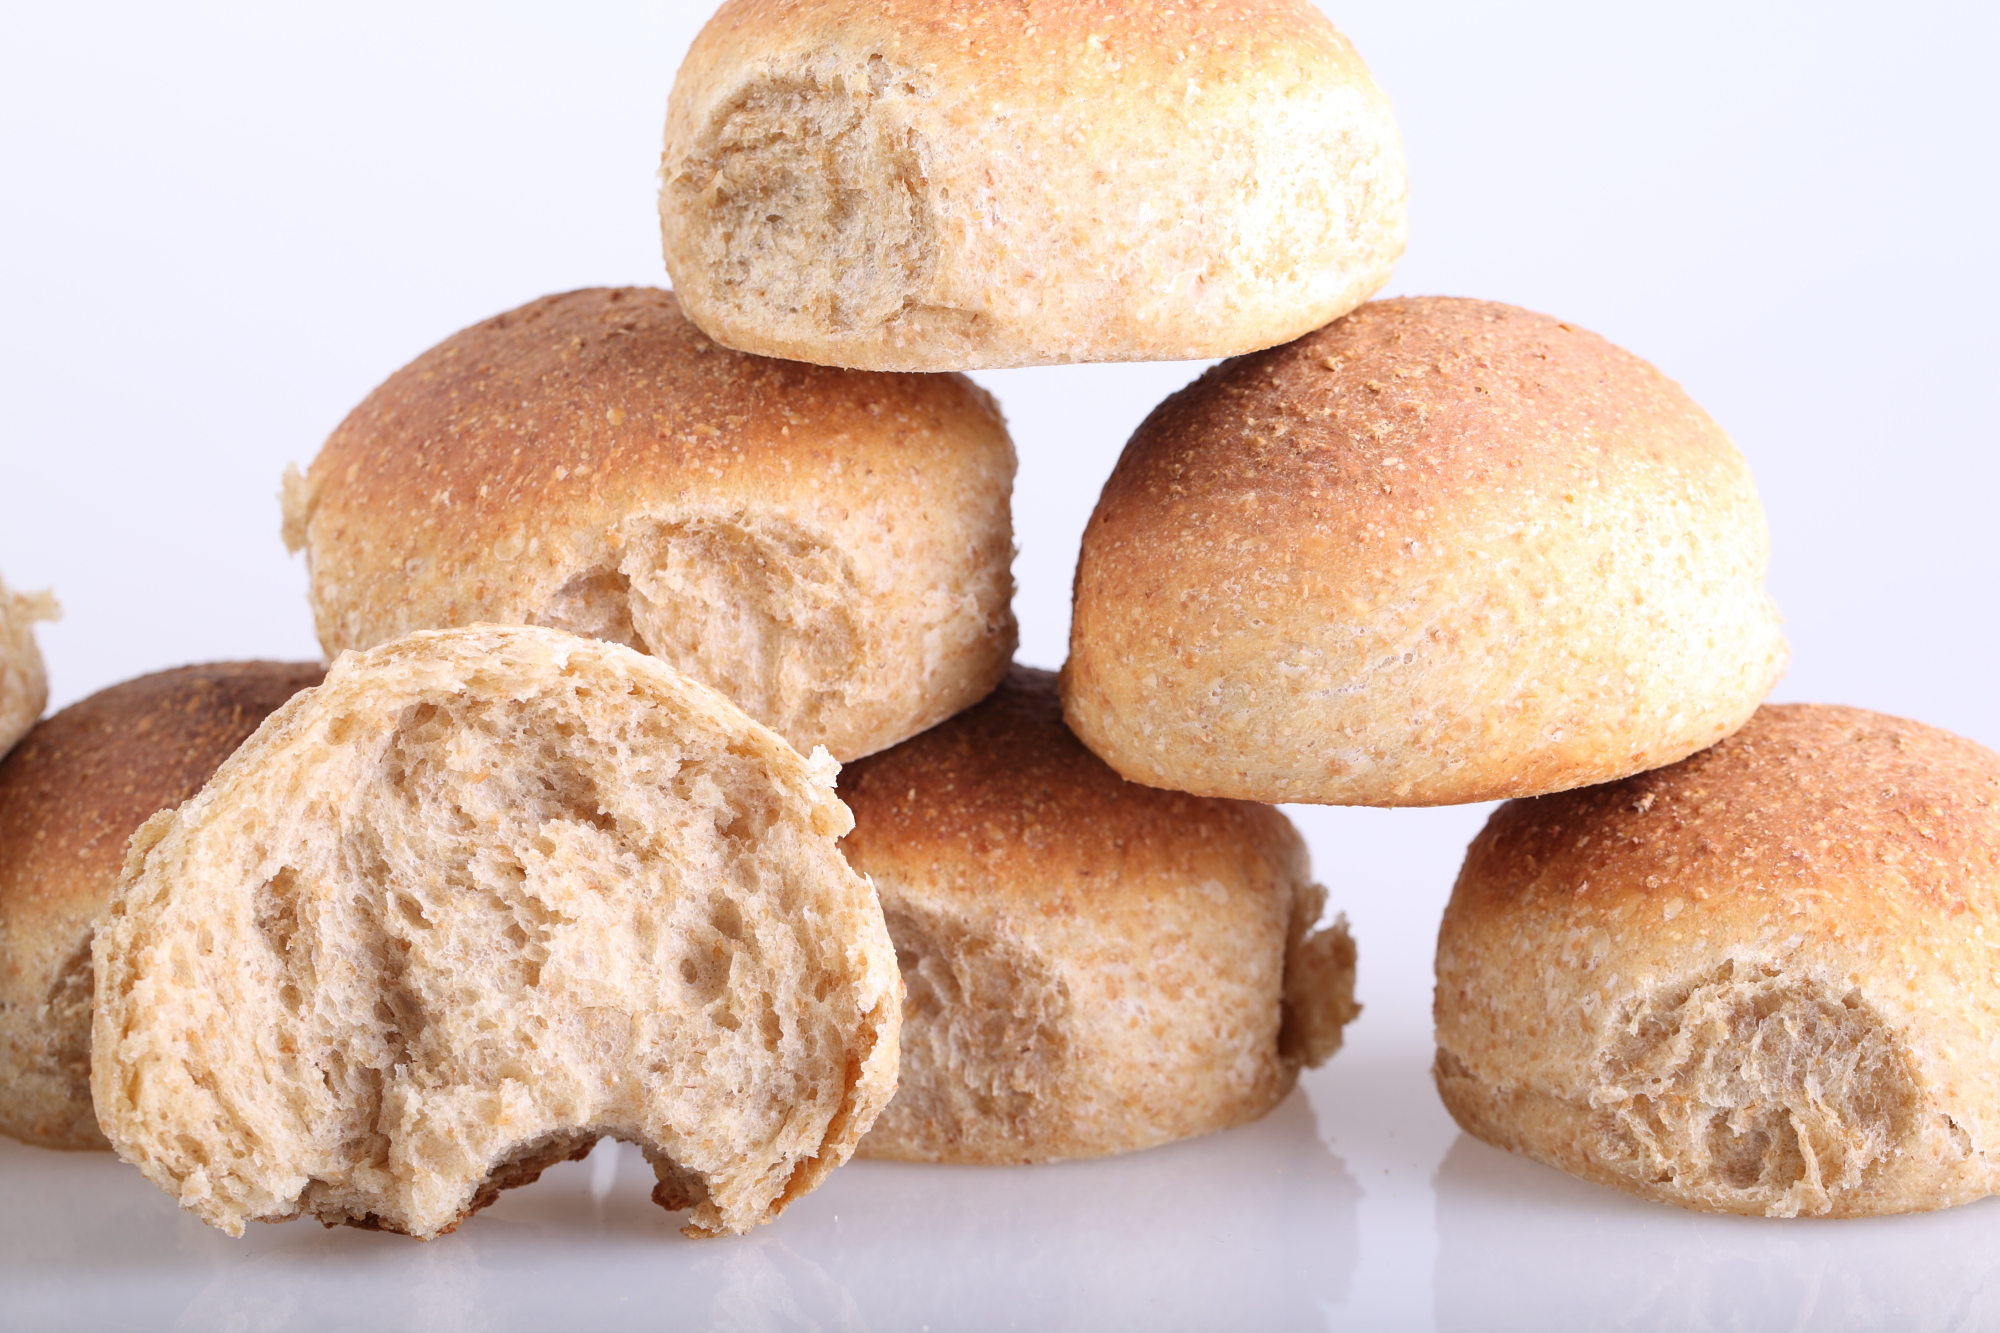
Soft and very resilient with notes of nutty sweetness and subtle sour, I like these rolls!
No kneading, only a bit of stirring and lots of time, and of course the best ingredients you can find, anyone with a bowl can make these rolls. You end up with heaps of taste and a terrific texture. In short, I love everything about these rolls. It’s a combination of recipes that got me inspired. I mixed and matched, added to and deleted from until I was totally satisfied with the result. The recipe is spread over two days. The starter is made in the evening, the rolls the following day.
Ingredients for the Starter
Making the Starter
In a bowl stir together 225 grams of whole wheat flour with 225 grams of water at room temperature with 30 grams of the (rye) sourdough culture. Stir it for about 1 minute until all the ingredients are combined. Cover the bowl with clingfilm and let it preferment at room temperature. After a minimum of 12 hours it is ready to be used in the final dough.
*For the starter in this recipe I use a sourdough culture which is made with 100% whole rye flour. A sourdough culture based on rye flour is easier to maintain, it does not transform into a slurry when you forget about it, it is easier to stir because it has almost no gluten and it smells very very nice, a bit like berries. It is also very forgiving in the amount you feed it. Normally I only feed it once a week, after our weekend baking. I just give it a few table spoons of water and rye flour, stir, and ready! Check out our posting about making your own rye sourdough starter.

Ingredients for the Rolls
makes 12 rolls
Starter (480 g total weight)
425 g wheat flour / bread flour
115 g water
75 g buttermilk (or combination of yogurt and water 2/1)
25 g honey
10 g sea salt
50 g very soft butter (alternatively use 40 grams of vegetable oil)
Making the Rolls
Put the starter in a large bowl, add the other ingredients and mix for about 1 minute (no kneading) until everything is combined and you have a very soft dough. You can do this by hand but if you do not want to get your hands dirty you can also combine the ingredients with the aid of your mixer. But keep the mixing to a minimum! Cover the bowl and leave the dough to rest for one hour.
Now do a stretch and fold (a full letter fold, left over right, right over left, bottom over top, top over bottom; see our bread movie to observe this technique if you are not familiar with it) and again leave to rest for one hour. Do a second stretch and fold and a rest for one hour and then a third one, again followed by a one hour rest (see time table at bottom of post).
Preheat your oven to 210ºC / 410ºF (at what stage you preheat your oven depends on how long it takes for your oven to heat through, some take 30 minutes, some, like ours, with stone floors take a lot longer, up to two hours).

Shaping time! Weigh the total amount of dough and divide into 12 equal pieces. Shape the pieces into rolls. Lay the rolls in an oiled dish or tray, leaving some space (2cm or 0.75″) between the individual rolls, so that they will just touch each other at the end of the final proofing. The tray I use is 30 cm x 40 cm / 12 inch x 16 inch. Spray the rolls lightly with oil and cover. The final proofing should take at least two hours, very probably more, depending on the temperature in your room and the temperature of the dough (see our tips on dough temperature).
When you think they have risen enough, you can test the rolls by using your finger to carefully make a very small dent in the dough. If the dent remains, the bread is ready to bake, if the indentation disappears within a few seconds, the dough needs a little bit more time. Please make sure the rolls are well risen, with these rolls my experience is there’s more chance of under- than over-proofing. If it is taking too long, you can put the tray on top of a warm surface. We sometimes put a tray on top of our Rofco oven or use our small Rofco oven as a proofing cabinet by preheating it for a few minutes to 25ºC / 77ºF. It retains this temperature for a long time because of the oven stones and isolation.
Now your rolls are ready for the oven. Try to create some steam in your oven by putting a small metal baking tray on your oven floor when you preheat the oven. Pour a quarter of a cup of hot water in the small baking tray immediately after putting the bread in the oven. If you are going to create steam with a baking tray, you also want preheat your oven a bit higher (10ºC / 20ºF), because you are going to lose some heat in the process. When you use this technique you have to turn down the oven to the original recipe setting after you put the bread in the oven.
You can also temper your oven to around 180ºC / 355ºF when you think the rolls have the desired color on top and stick to this temperature for the remainder of the baking time.
After about 20 minutes of baking, depending on your oven, your rolls should be ready. Transfer onto a rack and leave to cool. These rolls also keeps very well in the freezer. But please make sure to eat at least one roll while still warm with some fresh butter!
No Knead Sourdough Wheat Rolls Time Table

Day 1 22.00 h
Make starter let ferment for at least 12 hours at room temperature
Day 2 10.00 h
Make final dough
- approx. 10.00 h Starter + rest of ingredients – 1 minute stirring
- 1 hour rest
- 11.00 h Stretch and fold 1
- 1 hour rest
- 12.00 h Stretch and fold 2
- 1 hour rest
- 13.00 h Stretch and fold 3
- 1 hour rest
- 14.00 Shape into 12 rolls
- Final proofing indication 2 hours
- approx 16.00 baking 20 minutes
- approx 16.20 ready!

Hi,
Would you put the dough a proofing mat / in the hour at the one hour fold stage, or leave just at room temperature?
Many thanks, these look great. Looking forward to seeing how they turn out.
Hello Lisa,
If you have a proofing mat and experience of using it, I would certainly do this. Personally I would, if possible, start using it at the first 1 hour rest stage and set a temperature of 24 to 25 degrees Celsius. Just keep an eye out for how (quickly) the dough develops and what is needed at the final proofing stage after the rolls are formed. We give an indication of at least 2 hours, but using your mat and a constant warm temperature, it could be your dough is a bit more enthusiastic.
Best of luck and enjoy your sourdough baking!
I would like to reduce the amount of starter and of course compensate for that. Will reducing starter and longer fermentation still give me soft rolls?
Hello Neha,
Can you tell us the exact reason you want to reduce the amount of starter, so we can advice you better. Do you want longer fermentation because of timing? Do you want to reduce the amount of the ingredients?
I doubled the recipe. Made 3-1lb loaves (boules) and 1 smaller. They rose nicely. Tasted great. A bit softer loaf I suspect because of the added enrichment. Would definitely make again.
Great recipe.
Thank you Luanne, for the very useful feedback. It’s great to have several options with one recipe and very good to know it turned out well with your version.
Enjoy your sourdough baking,
Marieke
Has anyone made this dough into a loaf of bread rather than rolls? How did it turn out?
Hello Luanne,
We have never made one loaf with this recipe ourselves, so we cannot advice you based on experience. We can tell you that the total amount of dough is almost 1.2 kilogram, so it is a big loaf that does require a much longer baking time of somewhere between 50 and 60 minutes. But there is no reason it would not be an option to make one big loaf or maybe two smaller ones with a baking time of around 35-40 minutes.
Hope you will let us know if and when you give it a try!
I doubled the recipe. Made 3-1lb loaves (boules) and 1 smaller. They rose nicely. Tasted great. A bit softer loaf I suspect because of the added enrichment. Would definitely make again.
Great recipe.
This recipe is excellent! We used freshly ground spelt. I was pleasantly surprised by the nice rise. The tang in each bite is delicious. I made more than needed for the Thanksgiving holiday and froze them. Just as good out of the freezer, thawed, buttered and spread with cinnamon spun honey. Thanks for sharing.
Love the combination with the cinnamon honey, great suggestion!
Hi,
Thank you so much for posting wonderful tips and recipes for sourdough bakers. Your site has been a great resource for me and I truly appreciate it! I have two questions for you about your no knead soft sourdough rolls.
First: Can I use whole wheat flour for these rolls as long as it is whole wheat bread flour?
Second: Can I use dairy substitutes to make these rolls vegan?
Thank you very much!
Sincerely,
~Kelly
Hello Kelly,
Thank you for your very kind comment.
1. Yes, you can use whole wheat flour for the entire recipe, but the result will be different with a more dense crumb and because the whole wheat absorbs more moisture, you might need a bit extra (think 10 grams or 2 teaspoons to start with).
You can use (olive) oil instead of butter, but we would recommend using 30 to 40 grams instead of the 50 g in the recipe, because of the fat content in the oil and the whole wheat.
You can also use any type of plant milk you like or just use water to substitute the buttermilk.
Together these are many modifications to the recipe, so we must stress that you would probably need to do several trial runs to get it right, or you could use a different recipe that is already well thought out for 100% whole wheat use. We do not have this available on our site.
Good luck with the baking and enjoy the rolls!
Marieke
thank you so much for sharing this recipe! The rolls are delicious and I’m so excited about trying a new whole grain flour recipe!
I like to ferment my sourdough breads at least 7 hours so the grains are more digestible. I guess it could be lengthened to a total of seven hours for the rest periods. Have you done it?
These work beautifully. I used soured cream instead of yogurt which was fine. Although they were at the right internal temperature after 20 minutes the bases felt a bit damp so I put them back in upside down for another 4. Lovely bread!
I have currently got the third batch of this recipe in the oven. My entire family enjoys it very much, and there is no waste as we can freeze any extra rolls. I do not consider myself a baker – much less a bread baker – although I have been baking sourdough (mainly no-knead as I am lazy) for a few years.
I follow the recipe as best I can (I am terrible for following instructions) – I use wholemeal bread flour for the first part of the recipe, white bread flour for the second part, yoghurt instead of buttermilk, and I always forget to take the butter out to soften, so I used melted butter. It always turns out nicely.
One tip to help with proving the rolls that my friend taught me, if you have a cold kitchen. Turn the oven on to 150 degrees C for two minutes, then turn it off, and pop the shaped rolls (cling filmed) into the oven and close the door. Check them every 15-20 minutes, it took us about 50 minutes proving time today before they were ready to be baked.
Thank you for this recipe that even I can make!