Klik hier voor Nederlandse versie
And they said it wasn’t possible to stuff 70% rye in one bread and get a good loaf…
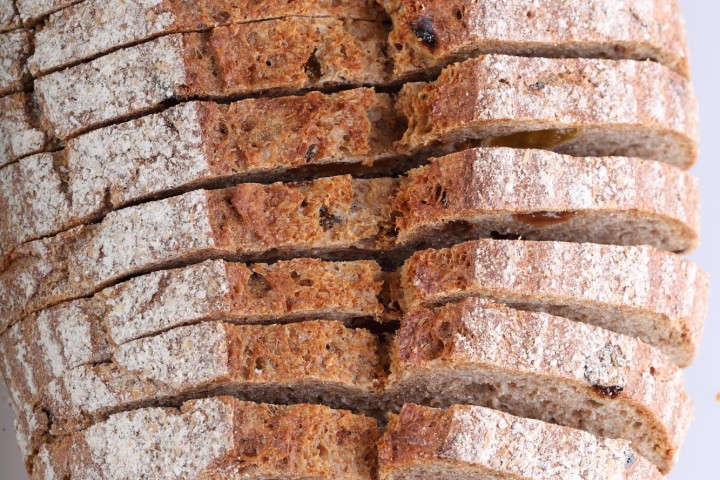
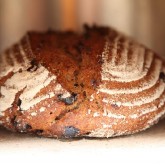
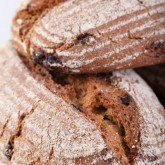
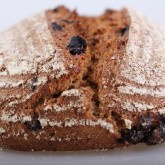
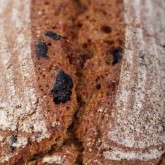
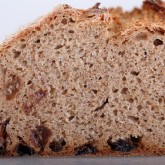
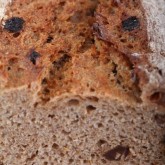
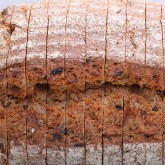
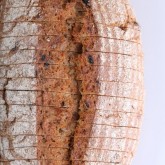
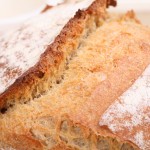
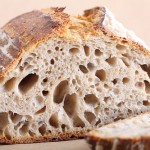
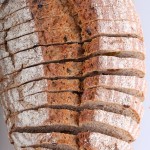
This bread has such great taste and such a nice bite plus, combined with the scattered sweetness of the big raisins, every bite is a delight.
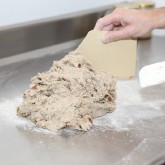
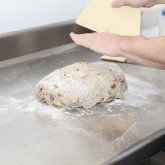
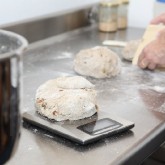
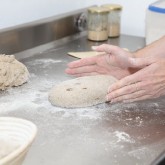
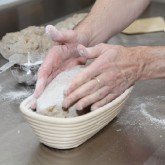
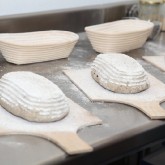
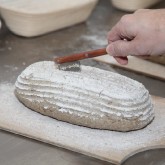
I strongly recommend that every home baker and fan of the rye makes this bread. It is one of my top 3 favorite breads. Shaping it feels a bit like working with clay, as you can see in the pictures. It is on the other side of the spectrum compared with making 80% hydration baguettes for instance.
For the starter in this recipe I also use a sourdough culture which is made with 100% whole grain rye flour. A sourdough culture based on rye flour is easier to maintain, it does not transform into a slurry when you forget about it, it is easier to stir because it has almost no gluten and it smells very very nice, a bit like fruit. I maintain the starter as an ‘almost’ stiff starter. This way it stirs easy but does not add as much water to the dough as a poolish starter. It is also very forgiving in the amount you feed it. As I am a bit lazy in feeding, normally I only feed it once a week, after my weekend baking. I just give it a few table spoons of water and rye flour, stir, and ready!
This recipe consists of 3 stages spread over 2 days, one evening for the initial starter and the next day for the second stage starter and the making of the bread.
Note: For this recipe we use whole grain rye flour. You can also use medium or fine rye flour or a combination of different rye flours. Just be sure to adjust the amount of water you add to the recipe. Using finer flour means adding less water, because it absorbs less moisture (indication: somewhere between 3 to 5% less water).
Ingredients for the First Stage
15 g rye flour sourdough culture
35 g water
45 g whole rye flour
Ingredients for the Second Stage
the starter from stage 1
110 g water (warm)
110 g whole rye flour
Ingredients for the Third Stage
the starter from stage 2
190 g water
155 g whole rye flour
135 g wheat / bread flour
7,5 g salt
1,4 g instant yeast
110 g raisins of choice (soaked and drained)
Making the Loaf
Stage 1 – Start on day one with the making of the initial starter. Yes, this is a small amount to make a first stage starter, but the amounts are correct for one loaf. Just double or triple the ingredients if you want to or can make more breads in one go. Put the rye sourdough culture* and water in a bowl and stir so the culture dissolves a bit, add the rye flour and bring it all together, forming a sticky and rather stiff dough ball. Leave this to rest at room temperature for at least 15 hours to up to 24 hours at most. I usually make it at 17.00 hours on day one and go on with the next stage the following morning at 09.00 hours.
*You can also use a whole wheat culture if you do not have a rye culture ready (yet) but I would suggest you make one, they are my favorite sourdough cultures both to use and maintain.
Stage 2 – First soak your raisins in hot water for about 30 minutes, rinse in a colander, let them drain and cover until needed (stage 3).
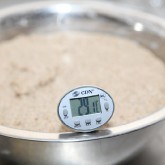
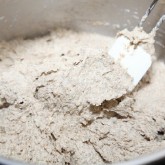
The water you are going to add at this stage has to be warm enough to get your dough to a temperature of about 29ºC / 84ºF. This temperature and the wetter dough promotes the production of lactic acid which will be reflected in a mild sourness in the final bread. Now take the starter from day one, add the warm water and loosen it a bit, then add the rye flour and mix until you have a dough. This dough is a bit wetter than the dough from stage one. Leave to rest for 3 hours at room temperature.
Preheat your oven at 225ºC / 435ºF. Make sure it is well heated when you put in the loaf.
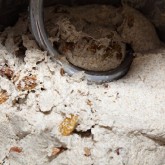
Stage 3 – Making the final dough and baking the bread. Take the dough from stage 2 and, in your mixing bowl, add the other ingredients, except the raisins, to form the final dough. Mix for 7 minutes. The dough will still be very stiff and sticky at this stage. This can be rather heavy duty work for your mixer, so keep a close eye on it, so it will not overheat. Add the raisins after the mixing by pinching them through the dough by hand. If you have a spiral mixer, it can do the work for you. Leave the dough, covered, to rest for 20 minutes at room temperature.
You can also leave out the little bit of instant yeast we add at stage three, but you have to allow for a longer final proofing time, probably 2 to 3 times longer.
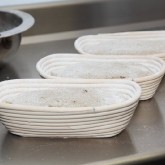
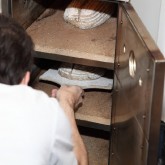
Shape the dough (it’s a bit like working with clay I guess) into the desired shape. I always make this bread a batard/oval shape, because that way I get nice same size slices when I cut it. Proof the loaf for 60 minutes in a proving basket.
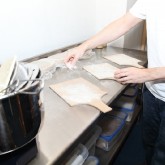
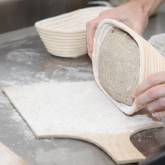
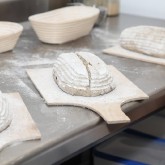
Now your loaf is ready for the oven. Please be careful in handling the proofed loaf. This type of bread has almost no oven spring, so it is important to keep as much air in the bread as possible. Slash/score the top of the loaf with a lame or bread scoring knife.
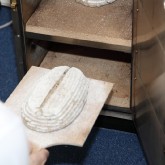
Bake for 45 minutes and leave to cool completely on a wire rack. Before you cut this bread it needs to rest at least 6 hours so the crumb can set and loose its initial stickiness. If you are keeping it overnight you can put the loaf in a paper bag (after it has completely cooled). This rye bread keeps wonderfully well in the freezer. I always cut it in thin slices before I freeze it. A minute in the microwave and your lovely slice of rye bread is ready to eat.
70% Rye Bread Time Table
day 1 Make the stage 1 starter and let ferment for 15 (minimal) up to 24 hours (maximum)
day 2 Mix the starter from day 1 with water+ flour from stage 2 and leave to rest for 3 hours
- Mix starter from day 2 + rest of ingredients, except the raisins, for 7 minutes
- Pinch or mix in the raisins
- Rest for 20 minutes
- Shape
- Proof for 60 minutes
- Bake in oven at 225ºC / 435ºF for 45 minutes






Candice says
Hi, thank you. So how do we make 100% rye bread with the rye sourdough starter? And not adding in more dried storebought yeast?
Weekend Bakers says
Hello Candice,
You can also leave out the little bit of instant yeast we add at stage three, but you have to allow for a longer final proofing time, the indication is 2 to 3 times longer. Or alternatively you can cold proof the loaf in the fridge after shaping and bake it the next day.
Enjoy your bread baking
Fred says
Hey you two,
wonderful recipe! I was about to create my own 70 % rye raisin bread since it is a speciality for the German “Münsterland” as well – well, I guess the borders are fluent here since not only for baked goods you can find a lot of similarities at the German-Dutch-Border.
Anyways, your recipe helps a lot!
I am just wondering: how much water do you use to soak your raisins? And does that need to be subtracted from the volumes you state in recipe above? Or is it more like an addition in the sense of “use an excessive amount of water, let the raisins soak as much as they can and drain the remaining water afterwards”?
Thanks and best
Fred
PS: have you thought about using a Tangzhong?
Weekend Bakers says
Hello Fred,
Thank you for appreciating the recipe. We have hopped over the border a few times, to taste some German rye bread. It still is something bakers over here do not produce as well. Making your own is almost always the best option to get something you can truly enjoy (making and eating).
As for the raisins, it is indeed the second option you mention with the draining.
We have used a tangzhong on a few occasions quite a while a ago, but never with this recipe, only for the fluffy white version. We do not have enough up-to-date experience to say something really meaningful about it. Just that all these methods are fun to try to find out how it works, what the outcome is and if you like it enough to make it a staple.
We do have our own favorite white bread which is this one:
www.weekendbakery.com/posts…wich-loaf/
One project could be incorporating a tangzhong and find out if it would improve the end result.
So much to bake and try, not enough time!
Enjoy your baking 🙂
Jackie Bonner says
I love the sound of this recipe. I have made a rye starter so I am keen to make this loaf but do wonder..yeast?
Is this dried yeast and do I just add it to the mix in stage 3 without first dissolving in water as more
Thanks
Jackie Bonner
Queensland
Weekend Bakers says
Hello Jack,
Yes this is indeed instant dried yeast and you can add it directly to the mix in stage 3.
(If it says ‘active dried yeast’ on your package, then you are dealing with a type of yeast that needs to be activated before use. But we assume you also have the instant dried type that can be used directly)
Hope you will give the recipe a go and you will like it as much as we do.
Enjoy your baking!
Lilian says
Hello –
Thanks so much for another interesting recipe. I was a bit nervous about this one, but it turned out fine and tastes delicious – the raisins go really well – even though it was not easy to work with. Do you think putting it in a loaf tin might help to avoid handling after final proofing?
Next time I must remember to poke the raisins right into the dough to avoid burning.
Weekend Bakers says
Hello Lilian,
Yes, excellent! The tin can work very well and we also get a few burned raisins and just take them off if needed.
Thank you for trying and liking this recipe and enjoy the upcoming (baking) weekend!
Michael Calcagno says
I can’t thank you enough for your wonderful website resources. What a legacy you have built here. Your croissants are absolutely heavenly.
Your recipe calls for “wheat flour” but you don’t indicate if it’s whole wheat or all-purpose wheat (white). Thanks for the clarification. This bread is wonderful but my loaf always seems to collapse a bit when I load it. I hate that flattening effect. I’ll keep trying.
All the best!
Weekend Bakers says
Hello Michael,
Thank you for your nice words about the site and recipes.
This recipe is from quite some years back, and it slipped our attention that we did not state that we mean ‘white’ wheat flour or bread flour or as you call it all-purpose wheat flour. We use a stone ground organic all purpose wheat flour with about 12.5% protein ourselves for this recipe and many other bread recipes.
Do not worry about the slight sagging of the dough when turning it out of the basket or loading it, this is normal. With the right use of flour and point of proofing and use of steam in the oven it should bounce back. Otherwise you maybe need to tweak a few things like looking at possible over-proofing, the amount of protein in flour, depending on the recipe of course and the amount of steam you can create and the (initial) temperature of your oven. Make sure the temp does not collapse when opening the oven and loading it.
See our oven tips too:
www.weekendbakery.com/posts…your-oven/
www.weekendbakery.com/posts…ven-users/
Enjoy your baking and experimenting!
Ed & Marieke
WKB