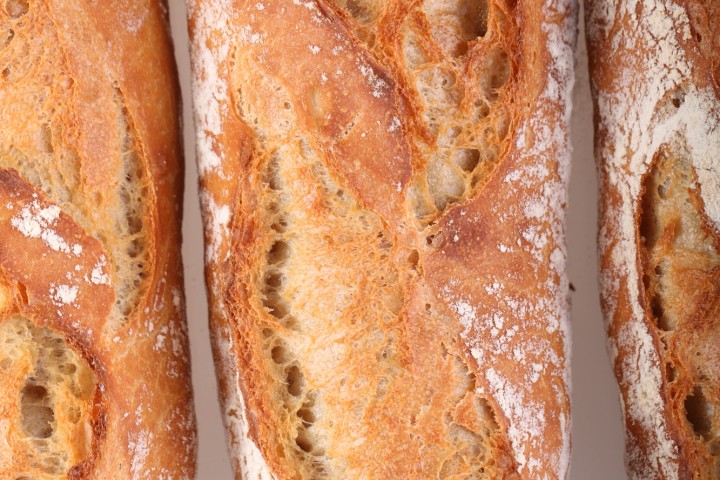
Even if the shaping is not perfect, this is the best baguette I have ever tasted!
I was very intrigued when I saw the baguette recipe that Akiko posted on the Fresh Loaf, both by her pictures of the baguettes and by the mentioning of the 80% hydration (Thank you Akiko, you are truly inventive and inspiring!). I liked it immediately and could not wait to try it. Several tries and tweakings further, with lots of sharing and baguette debating with Akiko, I can say from the heart that this recipe lives up to it’s expectations.
So give this recipe a try too and let me know what you think!
Do not forget to watch me take on the 80% baguette dough and see me stretch and fold on my video; Watch it here…
Take a look at our baguette log and follow our baguette baking progress and learn from our experiences and mistakes!
If you consider yourself a novice baguette baker our ‘easy’ baguette recipe might be a great place to start for you!
Before you start, you might also want to check our tips for bread scoring with confidence and handling wet dough.
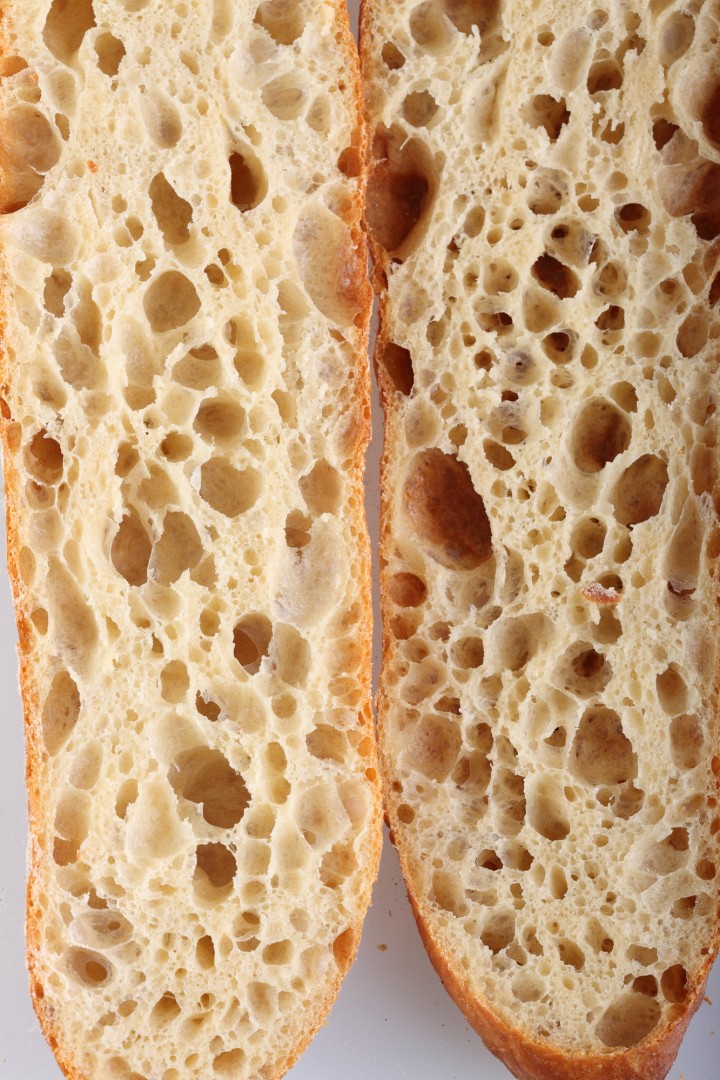
Making the ‘Poolish’
Normally a poolish has equal parts of water and flour, however this time we make a poolish of 80% water which will give you a preferment resembling something between a biga and a poolish. So it is less wet and much less slurry than an actual poolish. In a bowl stir together 380 grams of bread flour with 304 grams of cold water and 3 grams of instant dry yeast. Mix it until you have a consistency that looks like very thick dough-like batter. Cover the bowl and leave for one hour at room temperature. After this hour at room temperature you put the poolish in the fridge for 10 to 17 hours. So if you want to begin your bread making in the morning, you can make your poolish the evening before.
| Ingredients for the Poolish | ||||
|---|---|---|---|---|
| 380 | g | wheat (bread) flour | ||
| 304 | g | water (room temperature) | ||
| 3 | g | instant yeast | ||
| Ingredients for the Baguettes | ||||
|---|---|---|---|---|
| 1 batch makes 4 baguettes (346 g each) | ||||
| the poolish from step 1 | ||||
| 380 | g | wheat (bread) flour | ||
| 304 | g | water | ||
| 12 | g | (sea) salt | ||
| 1.5 | g | instant yeast | ||
Making the Baguettes
The times given in this recipe work best if your room temperature is between 19ºC / 66ºF and 23ºC / 73ºF. If your room is colder, use room temperature water instead of cold water (straight from tap) in the final dough.
Please note: There is no real mixing or kneading in this recipe. It’s all stretch and fold!
Now on with the final baguette dough making: Take the poolish directly from the fridge and first add the 304 g of water to dilute it. Then add the other ingredients (flour, salt and yeast) and combine until you have a shaggy mass. Cover and leave to rest for 10 minutes. Now turn out the mass onto your working surface and stretch and fold for 2 minutes. Keep on at it because it doesn’t look like it’s going anywhere but it will be OK. Put the dough in a greased bowl, cover and leave to rest for 45 minutes.
Stretch and fold a second time, doing two sets ( letter fold: right over left, left over right, bottom over top, top over bottom, repeat)
But back in your bowl, cover and again leave for 45 minutes.
Repeat the above stage another 3 times, but now each time doing only one set of stretch and fold.
Every stretch and fold is followed by a 45 minutes rest in a covered bowl except for the last one. After the last stretch and fold you leave the dough covered with some clingfilm (now looking nice and plump) on your bench for only a 10 minute rest (bench rest).
Preheat your oven to 240ºC / 465ºF (at what stage you preheat your oven depends on how long it takes for your oven to heat through, some take 30 minutes, some, like ours, with stone floors take a lot longer, up to two hours.)
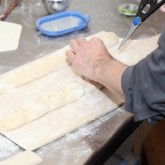
Now divide the dough into 4 equal parts. You are going to pre-shape the dough parts one by one by carefully stretching the corners making a rectangle of each of the 4 pieces and rolling them up. Try to make your rectangle and roll as even as possible without fussing too much with the dough. Use enough flour to handle the dough, but try to keep it to a minimum because you don’t want too much extra flour in the carefully build up 80% hydration dough. Cover and leave to rest for 15 minutes.
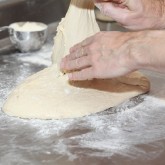
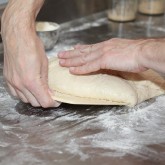
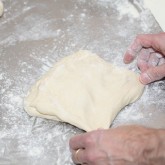
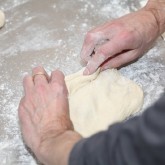
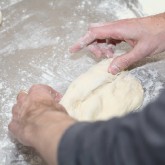
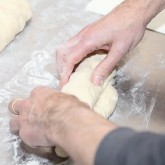
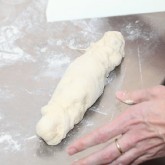
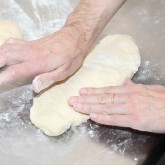
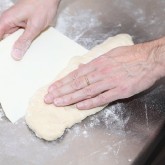
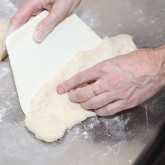
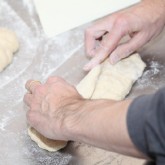
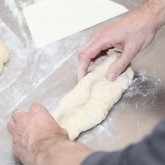
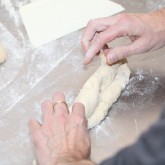
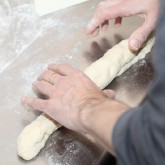
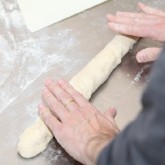
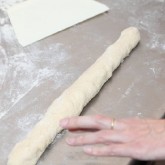
Take a roll of dough (which has flattened a little bit during the bench rest) and gently shape it into a baguette shape. My way of shaping this high hydration dough is to sprinkle it with a little flour and press it softly down into a rectangle with a short and a long side. The more even the rectangle the nicer the baguette will look in the end. With a plastic dough scraper you flip 1/3 of the long side onto itself and tuck it in to get some tension on the outside of the dough, now repeat it two more times until you have a roll shape. Make a rolling motion with your cupped hands from the center to the side with a soft touch to make the baguette a bit longer and to make nice pointy ends on both sides of the baguette. Practice makes perfect, do not be hard on yourself, it is not an easy job with a dough as sticky as this.
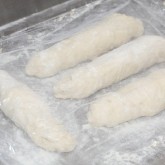
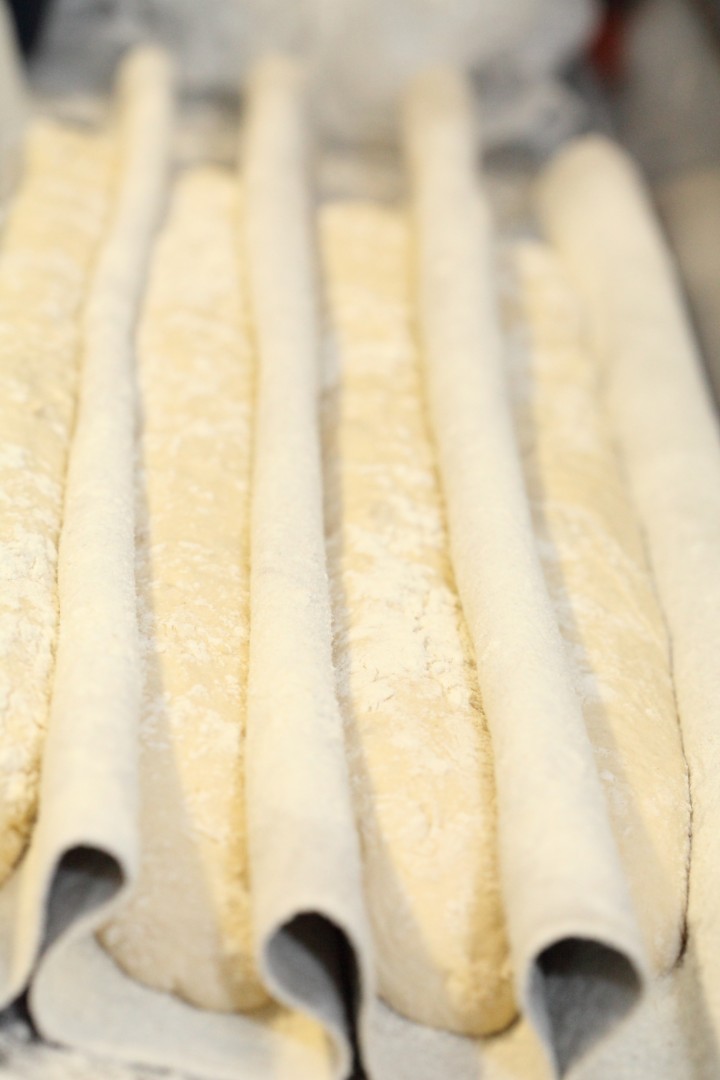 Place the baguettes in a couche made of proofing linen or in a baguette pan, or something of your own invention, but make sure the baguettes have enough side support to hold their shape. Cover them and leave to proof for 25 minutes.
To check if the baguettes are ready, dip your finger in some flour and gently poke in your dough.
If the hole disappears completely: under-proofed
If the hole dent pops half way back out: proofing is just right
If the hole stays entirely dented in: over-proofed
Score the top of the baguettes with a lame/bread scoring tool. Cut as straight along the long axis of the loaf as possible. Mentally divide the baguette into lengthwise thirds, and keep the cuts within the middle third. You can practice the scoring on a piece of paper or a kitchen paper roll first. Overlap the cuts by about one third of their length,while holding the knife at a 30 degree angle. Also check out this very useful video on proper baguette scoring.
Bake in the preheated oven for 25 minutes. Leave to cool on a wire rack.
To get a nice crust, try to create some steam in your oven by putting a small metal baking tray on your oven floor when you preheat the oven and pouring a half cup of hot water immediately after putting the bread in the oven. Release some steam by setting your oven door ajar (perhaps with the help of a wooden spoon or oven mitt) 5 minutes before the bread is ready. If you are going to create steam with a baking tray, you maybe also want to turn your oven temperature a bit higher, because you are going to lose some heat in the process.
Baguette Time Table
Day 1
Make ‘poolish’
Day 2
Mix ingredients until shaggy mass
00:00- 10 minutes rest
00:10 – 2 minutes stretch and fold
45 minute rest
00:57 – 2 letter folds
45 minute rest
01:42 – 1 letter fold
45 minute rest
02:27 – 1 letter fold
45 minute rest
03:12 – 1 letter fold + bench rest
03:22 – divide + pre-shape
03:37 – shape + proof
04:02 – into the oven
04:27 – take out and leave to cool
PS: If you are interested in linen couches / proofing cloths like we use ourselves, you can find them in our WKB webshop.







Pascal says
I’ve been working with this recipe and then variations for a few years now.
At this point I skip the poolish. I hand mix Al the adjusted ingredients then ferment for an Hour and half in a plastic oiled container. First stretch I n a bal after 30 and two more coil folds after 30 rest. Then bulk ferment overnight for 12 to 20 hours. Pre shape,shape, bake. Spraying with water after scoring before the oven is essential for shine and maximum crispiness before the oven with steam. Glas ovens don’t hold steam so I have cast iron pans pre heating in the oven. To make steam I use a squeeze bottle with hot water to squirt into the skillet. It keeps making steam for a few minutes that way.
Weekend Bakers says
Thank you very much for sharing your method with us Pascal!
Sounds like you made this recipe truly your own.
Enjoy your baguette baking,
Ed & Marieke
Adri says
22 dec.
Vandaag mijn 1ste stokbroden 80 % gebakken,
Heel wat gedoe, maar zijn redelijk goed gelukt !
Bedankt voor de recepten !
Wat gebruikt U hiervoor tarwemeel of tarwebloem ?
Weekend Bakers says
Hallo Adri,
Dat ‘gedoe’ verandert hopelijk als je het vaker doet 🙂 en je het recept eigen maakt. Het wordt dan ook steeds leuker en beter. Ons advies is altijd: Maak aantekeningen van wat werkt en wat niet werkt. Zo ga je naar je ideale versie, voor jouw handen, ingrediënten en oven.
Wij gebruiken biologische tarwebloem (onze favoriet komt van Molen de Zandhaas uit Santpoort) met een eiwit- / proteïne-gehalte van ongeveer 12.5 %.
Heel veel december-bakplezier en een mooie kerst!
Ed & Marieke
David says
You can’t miss with this receipe ! We have added strong sour dough starter (80-100g), adjusted flour abit till dough seemed right with wonderful results.You get more of a “chew” from the starter addition…interesting. We like it either way! Our loafs are not always baquettes,more like shorter stout sandwiches rolls. With a hot oven (@500) we get good oven spring when adding water then back to 465 until ready. I also spray the bread and oven as well. Enjoy this receipe …give a go!
Weekend Bakers says
Thank you David, for sharing your baguette baking experience and your own tips on a variation that sounds like a winner too!
Happy Holiday baking and feasting for you and your family