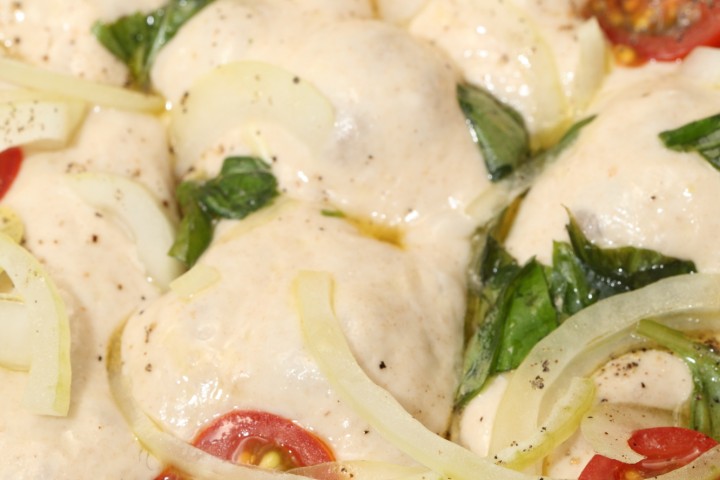
This gloopy dough will delight and surprise you and just wait till you taste it…
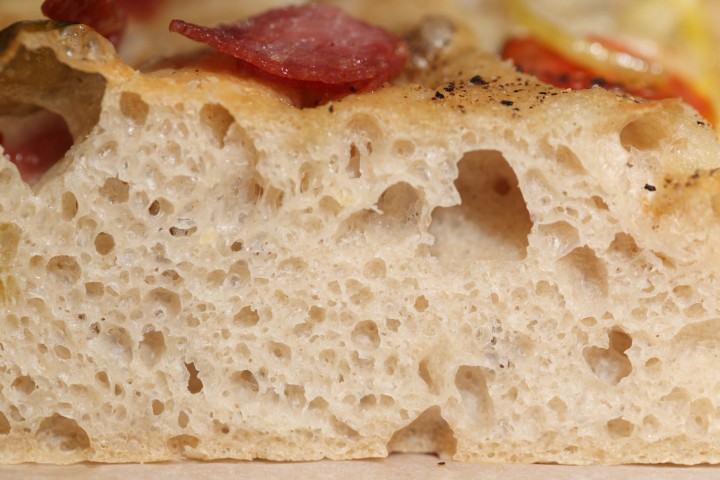
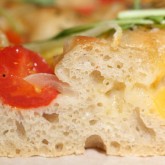
Imagine making a dough that looks like pancake batter, but acts like silky bread dough. Imagine a bread moist and tender and velvety in your mouth. We think making our focaccia with this ciabatta dough was one of the better baking ideas we had over the last few months. Let us know what you think!
The recipe for the ciabatta dough is inspired by Jason Molina’s Quick Coccodrillo Ciabatta Bread as found on The Fresh Loaf website.
These are our adaptations compared to the original dough recipe:
- We adapted the recipe to include a 12 hour poolish, for even more taste!
- We tuned the hydration level down to 85%, this allows you to skip using the peddle attachment of your mixer needed in Jason’s recipe and go straight for the dough hook.
Why? Less water gives quicker dough development, plus it is easier to handle when spreading in a baking pan, it behaves more like a dough and has more of a bread structure. - We use KitchenAid speed 6, Jason says to ‘beat the living hell out of it’ but speed 6 works great for this adapted version of the dough and your mixer will live longer too! If you own a Bear Teddy, you can use speed 3 on this machine.
By the way, it is not such a novel idea to make a focaccia with ciabatta dough. Focaccia typically contains flour, water, yeast, salt, and oil. Ciabatta is made with a similar dough but without oil, often as wet as focaccia or with even wetter doughs.
Making the poolish
Ingredients for the Poolish
250 g strong bread flour
250 g water
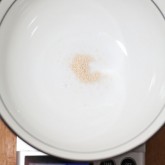
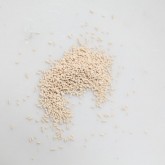
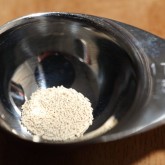
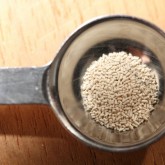
0,1 g instant yeast (see pictures)
This preferment is called a poolish and has equal parts of water and flour. In a bowl stir together 250 grams bread flour with 250 grams cold water and 0,1 gram instant dry yeast. We use a precision scale to measure the 0.1 gram but to give you a good indication of how tiny this amount is we made some pictures (see gallery above). Mix it until you have a consistency that looks like a very thick batter. Cover the bowl and leave for 12 hours at room temperature. So if you want to begin your bread making in the morning, you can make your poolish the evening before.
Making the ciabatta dough
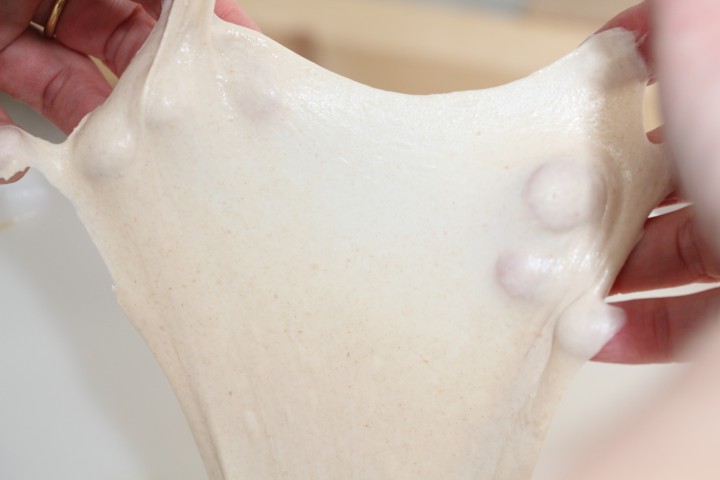
This dough should pass the windowpane test with flying colors!
Ingredients for the ciabatta dough
Poolish (500 g)
280 g strong bread flour
200 water
8 g salt
7 g instant yeast
Attach the dough hook to your KitchenAid type mixer and combine the ingredients until you have a shaggy mass (30 seconds to 1 minute). Let it rest for 10 minutes.
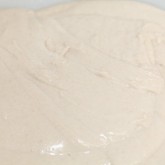
Now comes the fun part. Start mixing at speed 6 (for a Bear Teddy mixer we advice speed 3). First your dough will look like pancake batter with some gluten but after about 3 to 5 minutes of kneading (so way shorter than the original recipe’s 10 to 30 minutes) the complete dough ball should stick to the dough hook and be separated from the sides, hardly touching the bowl anymore, even separating from the bottom from time to time.
When this happens you can make a wonderful ‘windowpane’ with your dough, as demonstrated in the picture.
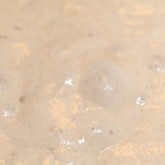
Place the dough in a bowl sprayed with oil, cover and let it rest for 90 minutes in a warm place, provided the temperature of your dough is around 24ºC / 75ºF. During this period this dough really increases in size, more so than with your regular bread dough. After this period it should look very wobbly with lots of air, but it should not collapse of course.
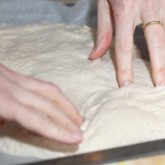
Preheat your oven at 230ºC / 445ºF. Prepare your baking tray (about 30 x 40 cm / 12 x 16 inches) by lining it with a baking sheet or baking parchment and lightly spray or coat it with some oil. Spread out the gloopy dough on the baking tray (wetting or oiling your fingers will help) making sure to evenly distribute it into the corners.
Dress the dough with the following ingredients (or ingredients of choice):
Ingredients for the topping
24 ripe mini tomatoes, halved
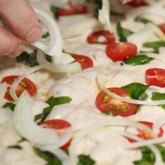
1 large thinly sliced white onion
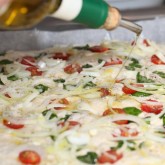
about 3 tbsps olive oil
a handful of fresh basil leafs
sea salt flakes and black pepper to taste
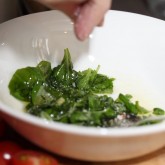
You can shred the basil leafs and mix them in with the oil before rubbing it on the surface of the dough.
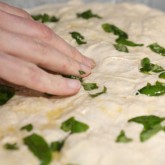
With your fingertips, make indentations all over the surface, making sure the lovely oil also drips into the dents.
Let it proof for another 30 minutes.
Note: We like to add ingredients like the tomatoes before the final proofing, so they become ‘encapsulated’ during the proofing and stay nice and juice during baking too.
Bake in the preheated oven for 20 minutes, until golden brown.
Brush with some more olive oil if you feel like it. Leave to cool ever so slightly then take your pizza cutter and attack!








Mr Adam Cook says
Another truly fabulous recipe! Thank you very much x
monique says
how can i get a thick crust on my Focaccia for sandwiches,
Roc Rizzo says
Any reason why I cannot use sourdough starter instead or in addition to yeast? I was thinking about 20 gm in poolish, and 100-200 gm in dough.
Any thoughts on this?
Thanks n advance.
Thijs says
Yeast usually gives a better rise, but you can surely use sourdough in addition to yeast. I did an experiment a little while ago making pizza dough with both yeast for rise and sourdough for taste. If you mix both in the instant yeast will win from the starter, so I made 2 different preferments.
I cant remember what I did exactly, but I got the idea from pizza bakers on youtube compare yeast and sourdough prefermented pizzas. I only remember the yeast preferment was really really dry and shaken, not mixed.
OSAMA ABDELAZIM MOKHTAR MOHAMED says
Thanks alot for professional explaining .I just have one question ❓ why no sugar in the recaps to be soft?
Joanna says
Hi can I use fresh yeast?
Thomas Ek says
You can always use fresh yeast, at work we use a 60/40 of poolish to white wheat sourdough starter.
Melissa says
I made this today after preparing the poolish last night… By far the most amazing bread I have ever made!! I used your topping suggestions, and it came out perfect, just perfect! There’s nothing left! One minute it was there, the next-all gone…
I have to admit I was a little worried for my kitchen aid on such a high speed to knead the dough, and was relieved to stop after I achieved the ‘windowpane’, but I HAD to thank you for sharing this wonderful recipe and technique. Will put a picture on my FB page soon… Thank you again Weekend Bakery!
Weekend Bakers says
Sorry for the late reply to your wonderful comment Melissa. So glad you had such success with this marvelous dough. Fun to make and delicious to eat. A firm favorite within our family and hopefully it will be in yours too!
Thank you and enjoy your baking and sharing,
Ed & Marieke
Dieke says
Fantastisch gelukt!! Thx voor het duidelijke recept en de foto’s.
Weekend Bakers says
Fijn Dieke, het blijft een heerlijk deeg om mee te werken!
Barbara says
Kan ik de poolish ook eerder dan 12 uur van te voren maken? Ik wil ‘m 22 uur van te voren maken. Moet ik ‘m dan even (2 uur?) op kamertemperatuur laten staan, dan in de ijskast en dan 1 uur voordat ik er mee aan de slag ga ‘m eruit halen? Kan dat?
Weekend Bakers says
Beste Barbara,
Ja dat kan, bij 22 uur zouden wij willen voorstellen de poolish te bereiden en direct in de koelkast te zetten. Je kunt deze dan 1 uur voor gebruik uit de koeling halen. Afhankelijk van de temperatuur van je koelkast en van je voordeeg kan het zo zijn dat je nog wat moet aanpassen voor het optimale resultaat. Daarbij kun je beter een wat onder-rijpe poolish gebruiken dan een over-rijpe omdat de glutenstructuur dan te leiden heeft en daarmee ook het brood. Vandaar dat we willen aangeven, gezien je 22 uur rijstijd, iets voorzichtiger te zijn om over-rijzen te voorkomen.
Een andere mogelijkheid om dit proces te beïnvloeden is natuurlijk de hoeveelheid gist. Hoewel de hoeveelheid al zeer klein is, zou je in jouw geval er zelfs nog iets minder in kunnen doen, mocht dat nodig zijn.
Succes ermee!