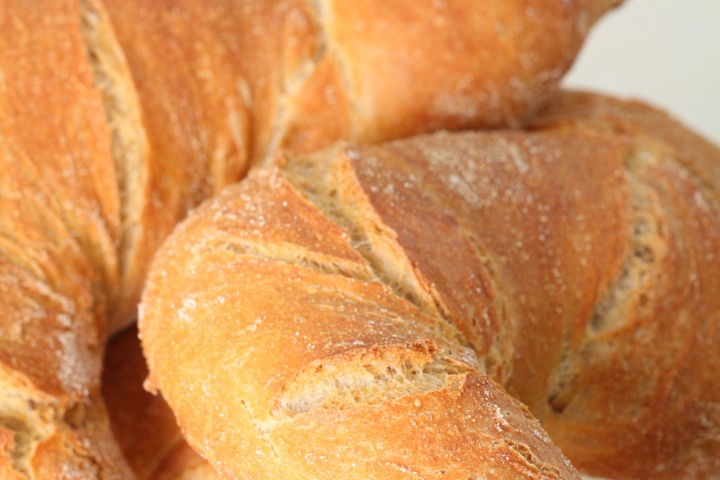
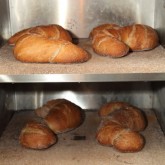
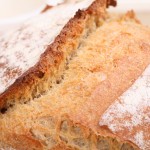
The sprinkling of semolina on the crust gives it crunch
and a touch of sweetness
We saw this Swiss bread being made by a German baker on UK TV. The ‘wurzel’ refers to the fact that the bread resembles winding tree roots. The French call it pain tordu. These loaves looked like a lot of fun and, as it turned out, quite easy to make.
You prepare the complete dough, the night before baking day. On the baking day itself, it’s just one stretch and fold, twisting, proofing and getting it into the oven! The use of the semolina together with the long bulk fermentation with a little bit of yeast (see text* in recipe on how much exactly) gives this bread a sweet crust and a full flavored crumb.
We usually make 4 to 6 of these loaves in one go, just multiply the ingredients accordingly
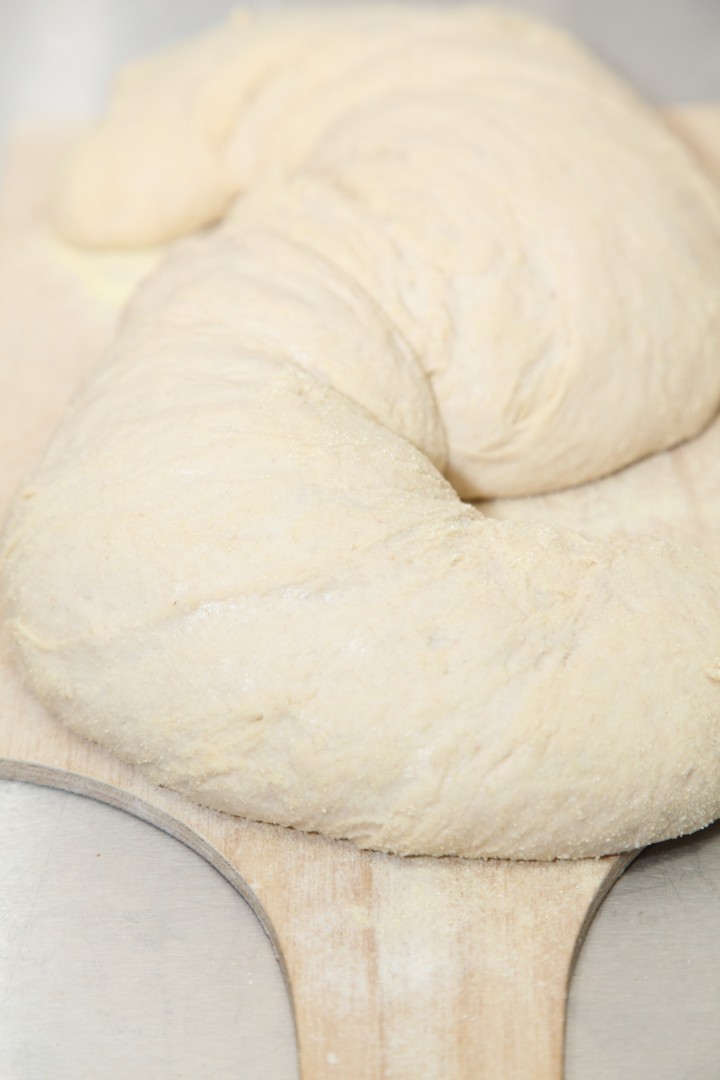
Ingredients for the Swiss Twisted Bread
makes one loaf
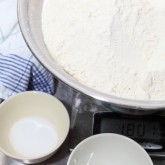
450 g bread flour
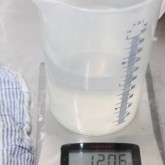
300 ml water
7.5 g salt
0.5 or 1 g instant yeast (see text*)
semolina flour for dusting
Making the Swiss Twisted Bread
Before you start
Please read the entire recipe before you start and make sure you have everything you need in place to create the optimal conditions for making a great loaf!
We use European flour which absorbs a few % less water than American type flour. People using American type flour should add 3-8 ml water to the dough.
*How much yeast are you going to use?
Depending on the temperature of your room, this bread requires more or less yeast. The amount of yeast you use ranges from 0.5 g when your room is around 23ºC / 74ºF to 1 g when your room is around 18ºC / 65ºF. Note that these very small amounts of yeast are used because your dough is going to have the chance to develop for 12 hours in a ‘warm’ environment, so they have a lot of time to do their magic!
Day One
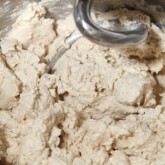
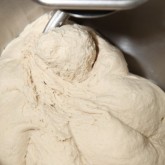
In the evening combine the ingredients and knead for 7 minutes in a standing mixer or about 15 minutes by hand. Transfer to a bowl, cover with clingfilm and leave overnight for 12 hours at room temperature. So for example make your dough at nine in the evening and then continue with the recipe at nine the next morning.
We usually make more loaves so we have to divide the dough before shaping
Day Two – Baking Day
Preheat your oven to 235 ºC / 455 ºF. At what stage you preheat your oven depends on how long it takes for your oven to heat through, some take 30 minutes, some, like ours, with stone floors take a lot longer, up to two hours. The preparation time from this point until the bread actually goes into the oven is about 1 hour and 45 minutes.
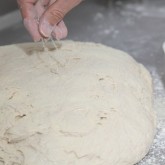
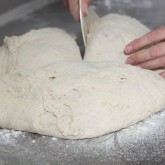
Take the dough out of the bowl and onto a floured work surface and do one stretch and fold (a full letter fold, left over right, right over left, bottom over top, top over bottom; see our bread movies to observe this technique if you are not familiar with it).
Let it rest for one hour.
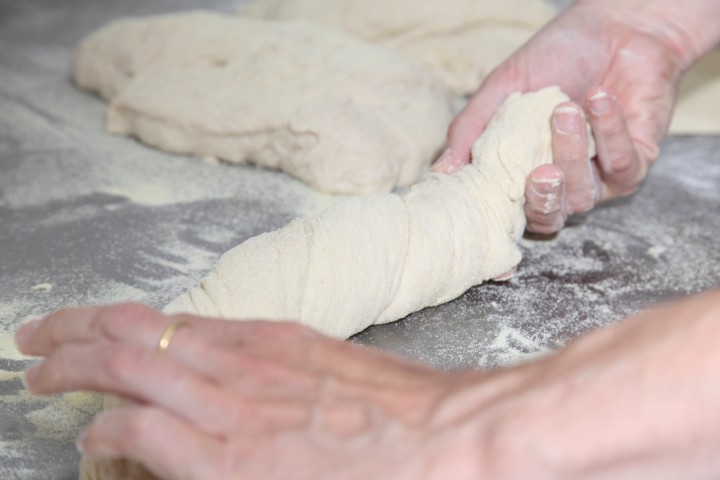
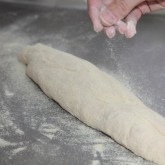
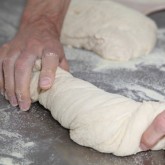
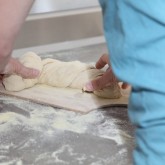
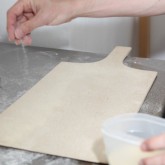
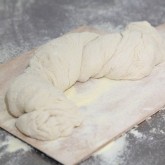
Now shape your loaf by ‘rolling’ it in a sausage like shape and twisting the bread around itself 6 to 8 times. You use a generous amount of semolina during this shaping stage to get a nice crust and the dough will also be easier to handle.
Let it proof for 45 minutes. We let the loaves proof on the bread peels we have prepared with a coating of semolina. When you think it has risen enough, use your finger to carefully make a very small dent in the dough. If the dent remains, the bread is ready to bake, if the indentation disappears, the dough needs a little bit more time.
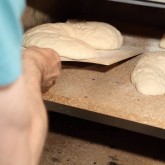
When your loaf is ready for the oven, to get a nice crust, try to create some steam. You can do this by putting a small metal baking tray on your oven floor when you preheat the oven and pouring in half a cup of hot water immediately after putting the bread in the oven (see our oven tips for more info). Release some steam by setting your oven door ajar 5 minutes before the bread is ready. If you are going to create steam with a baking tray, you maybe also want to turn your oven temperature a bit higher, because you are going to lose some heat in the process.
After 35 minutes of baking your loaf should be ready. Transfer onto a rack and leave to cool. This loaf also keeps very well in the freezer. But please taste some of it while it’s fresh!
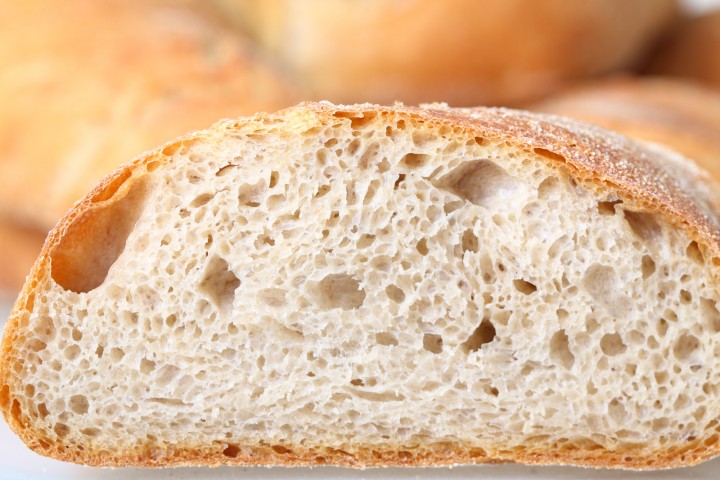
Twisted Bread Time Table
day 1 Making the dough
21.00 h Make complete dough, let ferment for 12 hours at room temperature
day 2 Baking day
09:00 h – one complete stretch & fold
60 minutes rest
10:00 h – Shape
Final proofing 45 minutes
10:45 h – Bake for 35 minutes at 235ºC / 455ºF
11:20 h – Your loaf is ready!






Alex says
I made a loaf and it turned out well. A tad saltier than my usual breads, but nothing bad. The twisting was definitely the best part!
Weekend Bakers says
Hello Alex,
Thank you for the excellent feedback. Actually, the recipe is already from quite a while ago and we would now stick to a slightly lower salt %, so we adjusted it to 7.5 grams which is close to the amount we now use in most of our bread recipes (around 1.6%).
Easily fixed with a next bake too!
Enjoy your baking and twisting 🙂
Andrew says
Not nearly as tasty as the bread we had on our trip to Berguen – maybe it is the flour the Swiss bakery used and the yeast was apparently home made from potatoes !!
Weekend Bakers says
The quality and type of flour plays a key role in the taste of the end product. We would advice trying the recipe with stone ground organic flour. We have never had or made potato yeast but we can imagine it will have an impact on the taste.
Like the taste of wine on holiday, we can imagine bread would also taste even nicer with beautiful Swiss scenery as a backdrop 🙂
Chris says
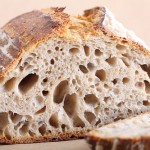
I just made this yesterday. The bread tasted good but there is not much air pockets inside the bread. The inside part is pretty dense. May I know why?
Weekend Bakers says
Hello Chris,
The main reason why a bread is dense is it was not proofed long enough. For example if your dough is colder or proofed in a cold room it takes much longer to get to the right point. So you can check the loaf and if possible the temperature, it is very important to stick to this and just give the bread more time if needed. Also see our tips on dough temperature: www.weekendbakery.com/posts…mperature/
Another thing to watch out for is to not add too much flour when handling and shaping a loaf, making the dough less wet, resulting in a less open crumb.
Quinn says
I have not tried this recipe. However, from baking many rounds of baguettes, I realized that we need to keep the dough moist (very moist) at the time of loading into the oven. This delays the crust formation and allows the dough to expand more in the steam oven, resulting in a less dense bread.
Weekend Bakers says
Yes, indeed Quinn, that is why we give the advice to create a good amount of steam in your oven while baking.
Thank you for your comment and advice and enjoy your baking!
Sonia Strass says
Tried it for the first time, complete success. Will make it again!
Weekend Bakers says
Thanks for your lovely feedback Sonia. Still such a joy to make this bread!
Heli says
Hello,
I made 2 of these loaves today and enjoyed them al lot. However I was wondering if the taste would even be better using sourdough? I always have rye sourdough, 100% hydration available. How much sourdough could I use instead of the yeast? And what would happen to the time table? Thanks in advance for your reply.
Heli
Weekend Bakers says
Hello Heli,
It is not that straightforward converting a recipe to a sourdough version. First of all you need to decide how much sourdough culture to use instead of yeast, and then there are the proofing times that will be longer. We have not tried it yet ourselves with this recipe. We would probably start with 15 to 20 g sourdough and see were that would get us. On baking day you could start with maybe doing two stretch and folds with 60 minutes intervals and the final proofing time would be around 2 hours, maybe a bit more. It could be a nice experiment to try. Let us know if you are giving it a go!
Happy Baking!
Ed & Marieke
Heli says
Thanks for the reply. I will give it a try and let you know!
Heli
Reme says
Hola . Me gustaría saber cada pan ¿cuanto gramos tiene que pesar?
Gracias
Weekend Bakers says
Hola Reme,
Before baking one bread is 760 grams and after baking the bread will weigh between 660 and 680 grams.
(Antes de hornear un pan es 760 gramos y después de hornear el pan tendrá un peso de entre 660 y 680 gramos.)
hornear feliz,
Marieke